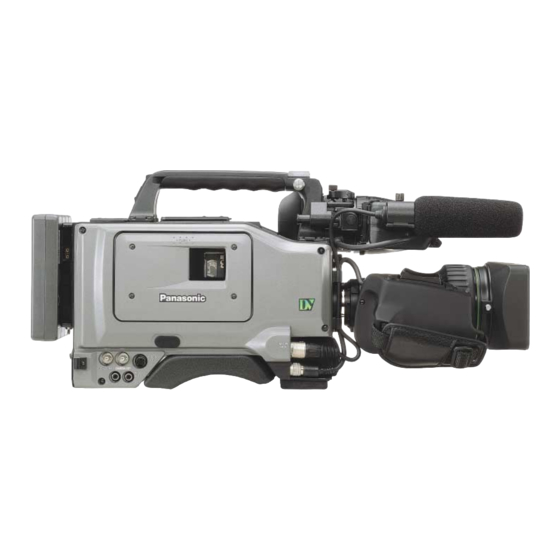
Panasonic AGDVC200 - DV CAMCORDER Operating Instructions Manual - Page 12
Browse online or download pdf Operating Instructions Manual for Camcorder Panasonic AGDVC200 - DV CAMCORDER. Panasonic AGDVC200 - DV CAMCORDER 44 pages. Digital video camera recorder
Also for Panasonic AGDVC200 - DV CAMCORDER: Operating Instructions Manual (45 pages), Specifications (4 pages)

Preparation
Using an AC power supply
(with the AJ-B75 AC adapter)
1
Connect the unit's external DC input
socket with the DC OUT socket on the AJ-
B75 AC adapter.
AC adapter
≥AJ-B75 (optional accessory)
2
Turn on the AC adapter's power.
3
Set the unit's POWER switch to ON.
When an AC adapter other than the AJ-B75 is to be used,
check the pin signals of the external DC input socket.
4
1
2
3
External DC input socket
<Notes>
≥When both a battery pack and an AC adapter have been
connected, the power supplied from the AC adapter takes priority.
It is also possible to attach/remove a battery while the AC adapter
is being used.
≥When an AC adapter is to be used, the unit's POWER switch must
be set to ON only after the AC adapter's power has been turned
on. If the power is switched on in the reverse sequence, the AC
adapter's output voltage will rise slowly, possibly causing the unit
to malfunction.
External DC input
socket
Pin No
Signal
1
GND
2, 3
–
4
+12 V
Attaching the lens
1
Raise the lens lever, and remove the
mount cap.
2
Fit the center mark on the lens into the
center cutout on the top of the lens mount,
and attach the lens.
3
Pull down the lens lever to secure the
lens.
4
Push the cable into the cable clamp, and
connect it to the LENS jack.
LENS jack
5
Proceed with the flange back adjustment
for the lens.
<Notes>
≥For details on how to handle the lens, refer to the operating
instructions of the lens.
≥While the lens is removed, attach the mount cap to protect the
unit.
12
Lens lever
Mount cap
Mark
