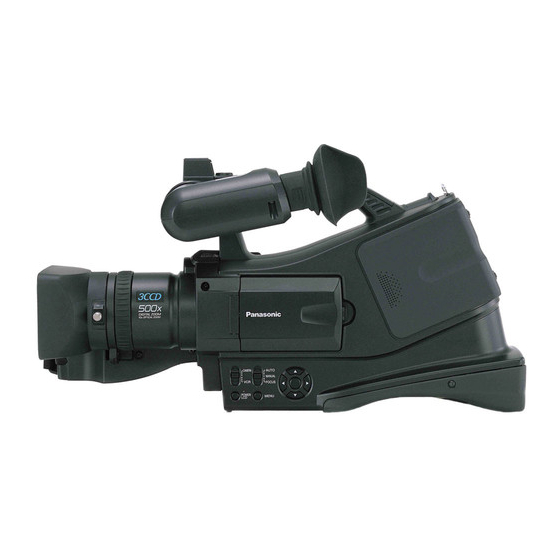
Panasonic AGDVC20P - 3 CCD DV CAMCORDER Operating Instructions Manual - Page 23
Browse online or download pdf Operating Instructions Manual for Camcorder Panasonic AGDVC20P - 3 CCD DV CAMCORDER. Panasonic AGDVC20P - 3 CCD DV CAMCORDER 42 pages. Agmini-dv camera/recorder
Also for Panasonic AGDVC20P - 3 CCD DV CAMCORDER: Operating Instructions Manual (40 pages), Operating Instructions Manual (42 pages)

Recording images for wide-screen TVs
This allows you to record images compatible with wide-screen
TVs.
Cinema Function
Images are recorded with a black belt appearing along the top
and bottom of the screen so that they look like theater movies.
≥Set to Tape Recording Mode.
1
Set [ADVANCE] >> [CINEMA] >> [ON].
ª
To cancel the Cinema function
Set [ADVANCE] >> [CINEMA] >> [OFF].
≥Images played back vary depending on the TV connected.
Please refer to the operating instructions for your TV.
≥This function does not widen the recording range.
≥When images are played back on a TV screen, the date/time
indication may be erased in some cases.
≥Depending on the TV, the picture quality may deteriorate.
≥When a cinema picture is imported into a personal computer,
the imported picture may not be displayed correctly,
depending on the software in used.
Image stabilizer function
Reduces the image shaking due to hand movement when
recording.
≥Set to Tape Recording Mode.
1
Set [ADVANCE] >> [EIS] >> [ON].
ª
To cancel the image stabilizer function
Set [ADVANCE] >> [EIS] >> [OFF].
≥When a tripod is used, we recommend that you turn the
image stabilizer function off.
≥Under fluorescent lighting, image brightness may change or
colors may not look natural.
≥When the night view function is used, the image stabilizer
function does not work. If so, the [
≥In the following cases, the image stabilizer function may not
work effectively.
≥When the digital zoom is used
≥When a conversion lens is used
≥When recording is done in an extremely dark place
≥When the camera-recorder is shaken greatly
≥When you record a moving subject while tracking it
Record mode
CINEMA
EIS
] indication flashes.
EIS
Recording in various situations (Scene mode)
When you record images in different situations, this mode
automatically sets optimum shutter speeds and apertures.
≥Set to Tape Recording Mode.
1
Set the [AUTO/MANUAL/FOCUS] switch to [MANUAL].
2
Set [BASIC] >> [SCENE MODE] >> select the desired
mode.
1) [5] Sports mode
≥To record sports scenes or scenes where there are quick
motions
2) [
] Portrait mode
≥To make persons stand out against the background
3) [
] Low light mode
≥To record dark scenes so they are brighter
4) [
] Spotlight mode
≥To record subjects spotlit in a party or theater
5) [
] Surf & snow mode
≥To record images at dazzling places such as ski slopes
and beaches
ª
To cancel the scene mode function
Set [BASIC] >> [SCENE MODE] >> [OFF] or set the [AUTO/
MANUAL/FOCUS] switch to [AUTO].
Sports mode
≥For slow-motion playback or playback pause of recorded
pictures, this mode presents free of camera shakes.
≥During normal playback, the image movement may not look
smooth.
≥Avoid recording under fluorescent light, mercury light or
sodium light because the color and brightness of the
playback image may change.
≥If you record a subject illuminated with strong light or a
highly reflective subject, vertical lines of light may appear.
≥If the brightness is insufficient, the sports mode does not
function. The [5] indication flashes.
≥If this mode is used indoors, the screen may flicker.
Portrait mode
≥If this mode is used indoors, the screen may flicker. If so,
change the scene mode setting to [OFF].
Low light mode
≥Extremely dark scenes may not be able to be recorded
finely.
Spotlight mode
≥If the recording subject is extremely bright, the recorded
image may become whitish and the periphery of the
recorded image extremely dark.
Surf & snow mode
≥If the recording subject is extremely bright, the recorded
image may become whitish.
23
