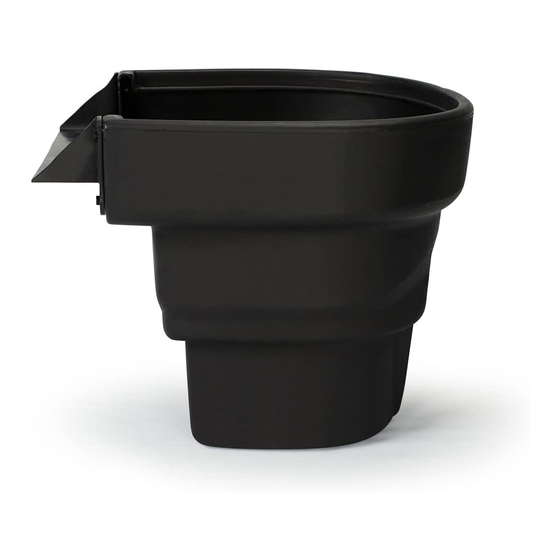
AquaScape BIOFALLS 1000 Instructions & Maintenance - Page 5
Browse online or download pdf Instructions & Maintenance for Water Filtration Systems AquaScape BIOFALLS 1000. AquaScape BIOFALLS 1000 16 pages.
Also for AquaScape BIOFALLS 1000: Instructions & Maintenance (16 pages)

• The filter is now ready for
the kink-free pipe and hose
clamp to be slipped onto the
barb fitting. Have someone
hold the BioFalls in place
in order to prevent it from
shifting out of level. In some
instances the tubing/hose
may be tight and difficult to use with hose fitting barbs. If
this is the case, we recommend heating the hose with the
use of a hair dryer or simply dipping the hose for a few
seconds in very hot water. Lubrication can also be used;
we recommend silicone grease or vegetable oil. Once
installed, the hose clamp can be tightened to secure the
pipe on the fitting (Ex. 5).
• Double check to make sure the BioFalls is still level after
installing the plumbing (Ex. 6).
• All of the soil removed from the excavation can be spread
and compacted around the BioFalls, creating a berm. The
filter should be completely surrounded by soil by the end
of the project. Be sure to verify that the BioFalls remains
level throughout the process.
NOTE: If installing into an existing pond. You may need to
bring in extra dirt to backfill and create a berm around the
BioFalls
.
STEP 3
ATTACH LINER TO THE BIOFALLS
WARNING: Power tools are not recommended
for installing the screws and may strip the nut
inserts.
• Prior to installing the waterfall lip, make sure the face of
the filter and liner is clean and free of dust and debris.
• Make sure there is at least 2 feet of liner on either side of
the BioFalls.
• Have someone hold the liner against the BioFalls while you
line up the waterfall lip over the liner. Make sure there are
no wrinkles and the liner comes up above the sides of the
BioFalls. Be sure that you have a few inches of slack liner
along the front base of your BioFalls. This will help reduce
☎
aquascapeinc.com |
CAN (866) 766-3426 |
tension on the waterfall lip
when placing boulders in
front of the unit (Ex. 7).
• Temporarily install the
waterfall lip and liner to
the BioFalls using the two
Ex. 5
outermost screws. Using
an awl or nail, poke the first
hole in the liner all the way
through to the inside of
the BioFalls (Ex. 7 & 8). Be
careful not to damage the
threads on the nut inserts
when punching the holes
with the awl. Remove the
awl or nail while holding waterfall lip and liner in place and
begin threading one of the screws into the filter (Ex. 8).
• Repeat this process for the other screw.
• Remove the waterfall lip from the BioFalls, keeping the
screws installed through the waterfall lip and liner.
• Place a thick bead of silicone
(not included) across the
insert nuts on the front of the
BioFalls (Ex. 9). Pre-installing
the two screws in the earlier
Ex. 6
steps will make it easy to line
up the waterfall lip after the
silicone is applied and will
keep the silicone in as thick
of a bead as possible
(Ex. 10).
• Reattach the waterfall lip
and liner using the two
pre-installed screws (Ex. 11).
• Using an awl or nail, poke
the remaining holes in the
waterfall lip and install the
rest of the screws.
• Remove extra liner, using
the waterfall lip as a guide.
Install the rest of the screws
(Ex. 12).
• Let dry for at least one hour before introducing water.
☎
US (866) 877-6637
Ex. 7
Ex. 8
Ex. 9
Ex. 10
Ex. 11
Ex. 12
5
