Diamond Audio HEX400.2 Owner's Manual - Page 8
Browse online or download pdf Owner's Manual for Amplifier Diamond Audio HEX400.2. Diamond Audio HEX400.2 16 pages. Multi-channels

MOUNTING
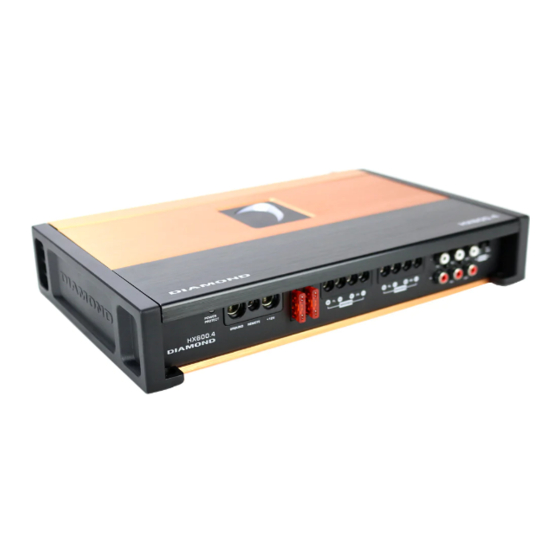
All Diamond Audio HEX amplifiers are designed with hidden mounting . To accomplish this the front and rear alumimum
covers are magnetically attached for easy access. To start the installation/mounting process simply remove the back panel
by pushing towards the rear and pulling up at the same time. The front process is similar but push/pull towards the front
and pull up as shown below
Once the amplifier(s) is mounted input signal cables and speaker/power wires are connected, adjust the input levels and
crossover settings (according to page 9) After all the settings are done, THEN put the front and rear cosmetic covers back
on. As shown below.
BACK COVER
NOTE: These covers are both a friction fit as well as magnetic. There is a small "lip" on the front cover that clamps the
front cover on tightly. Sometimes it can be somewhat hard to remove. Be careful, but forceful.
8
BACK COVER
FRONT COVER
Mark Amplifier Mounting Holes:
Once the covers are removed, use a pencil
and mark the mounting locations. Both front
and rear. Once marked, drill 1/8" holes for
the included mounting screws. (see below)
MAGNETS
FRONT COVER
