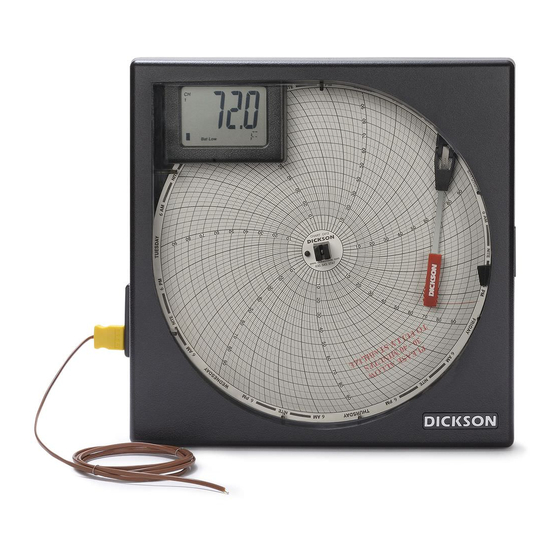
Dickson TH8P0 Manual - Page 7
Browse online or download pdf Manual for Measuring Instruments Dickson TH8P0. Dickson TH8P0 8 pages. Temperature & humidity chart recorder, 8” (203mm)
Also for Dickson TH8P0: User Manual (9 pages)

Factory Service & Returns
Contact Customer Service 630.543.3747 for a Return Authorization Number (RA) before returning any instrument. Please have
the model number, serial number and a PO ready before calling.
The R200 / R250 Replaceable Sensor was carefully tested and calibrated before being shipped from the factory. For greatest
accuracy, we recommend replacing the sensor every 6-12 months. To order a Calibrated Replacement Sensor Call customer
service at (630) 543-3747 or go towww.dicksondata.com.
When your new Replaceable Sensor arrives, simply turn off the recorder, remove and discard the old sensor, plug in the new
one and power the recorder back on. Your recorder will continue to record temperature and humidity without interruption.
Replaceable Sensor Certificate of Validation
Dickson ensures that the Replaceable Sensors / Instruments listed below were developed, tested and validated together.
Replaceable Sensor / Instrument:
R200 / TH8P0 / TH8P2 / TH8P3
The Instruments and Replaceable Sensor models listed above were specifically designed to work together. No other sensors
will work with the Instrument models listed. No other Instrument will work with the Replaceable Sensors listed. The
Replaceable Sensor must be connected to the Instrument for the Instrument to operate properly.
Only the Replaceable Sensor is calibrated. The sensor, and all calibration defaults and adjustments are stored on the
Replaceable Sensor. Accuracy is strictly controlled by the sensor – no adjustments are made by the Instrument. Readings are
sent from the Replaceable Sensor to the Instrument for storage purposes only. Certificates of Calibration / NISTs are only
supplied for the Replaceable Sensor for this reason.
When a Replaceable Sensor is due for recalibration the existing Replaceable Sensor can be replaced with a new Replaceable
Sensor thus eliminating the need to return the entire instrument for recalibration. Replaceable Sensors can be returned for
recalibration as well.
User Calibration
If you have an accurate standard to compare against, the Replaceable Sensor calibration can be adjusted at one point. This
will not adjust the span and is not as accurate as replacing the Replaceable Sensor with a newly calibrated one.
1. To activate Calibration mode, turn the unit on and press and hold both the On/Off and the Adjust-Down button until the
LED is solid green. The LED will then blink amber at which point only the pen being adjusted will show on the display.
Note: Make sure to press the Adjust-Down button first so the unit will not turn off
2. To raise the unit of measurement, press the Adjust-Down button. To lower the unit of measurement, press the Adjust-
Up button. Pressing Pen home switches between the red and blue pens on a two pen(s) unit and stores the current
adjustment value.
3. When Calibration is complete, press the On/Off button. The adjustment is stored in memory even after you turn the unit off
or if AC power fails.
Note: After two hours, if no buttons are pressed, the unit will time out of Calibration mode and resume normal operation. If you
wish to cancel the Calibration, simply enter Calibration mode and toggle through the steps without adjusting displayed readings.
Exit by pressing the On/Off button. You have now restored factory calibration settings.
Note: It is recommended that you use a controlled chamber when determining if Calibration is necessary. Adjusting the pen
locations in an open room is not recommended as humidity can vary greatly within a very small area.
Note: TH8P0/2 will not function below 32°F (0°C). The temperature range for these models is 32°F - 120°F (0°C - 50°C). Users
should continue to use -20°F - 120°F (-20°C - 50°C) 8 in charts. The Dip Switch Label refers to the chart range for these
specific models, not the temperature range.
