Axis P7216 Installation Manual - Page 14
Browse online or download pdf Installation Manual for Media Converter Axis P7216. Axis P7216 17 pages. Video encoder

Connect the cables
1. Connect the video encoder to the network using a network cable RJ45 and/or a SFP cable.
2. Optionally connect the external input/output devices.
3. Optionally connect active speakers and/or external microphones.
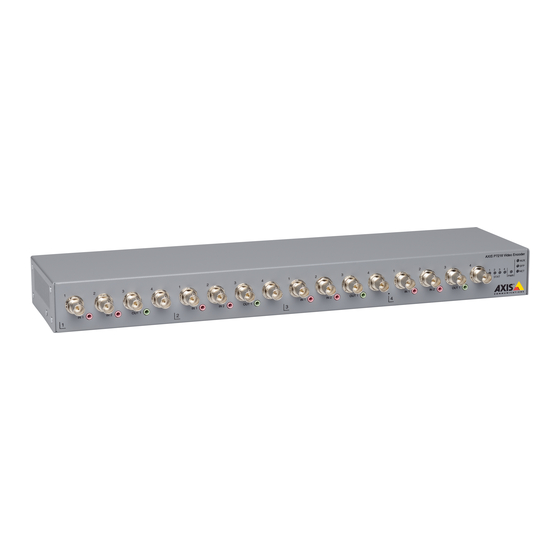
4. Connect the cameras to the video inputs.
5. Connect the supplied indoor power adapter.
6. Check that the indicator LEDs indicate the correct conditions. See LED Indicators, on
page 8
Auxiliary Connector
The AXIS P7216 is equipped with an additional RJ45 network connector. The purpose with this
connector is to simplify maintenance work on the AXIS P7216 that requires connection to a
computer.
Note
The auxiliary connector should only be connected during maintenance work.
Access the Product
Use the tools provided on the Installation and Management Software CD to assign an IP address,
set the password and access the video stream. This information is also available from the support
pages on www.axis.com/techsup/
Reset to Factory Default Settings
Important
Reset to factory default should be used with caution. A reset to factory default will reset
all settings, including the IP address, to the factory default values.
To reset the product to the factory default settings:
Note
To reset a single channel to the original factory default settings, use the button provided in
that unit's web interface.
It is also possible to reset parameters to factory default via the web interface. Go to Setup
> System Options > Maintenance.
AXIS P7216 Video Encoder
14
