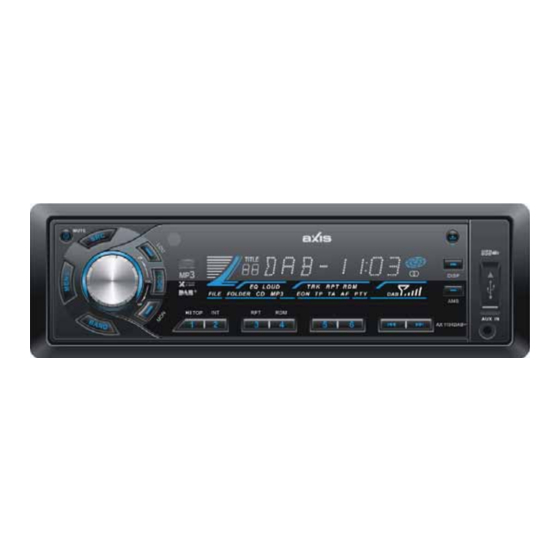
Axis Car Audio AX 1104DAB+ Installation Manual - Page 12
Browse online or download pdf Installation Manual for Car Receiver Axis Car Audio AX 1104DAB+. Axis Car Audio AX 1104DAB+ 15 pages. Dab+ / cd / multimedia player receiver

Installation Guide
Installation Procedures
First complete the electrical connections, and
check for correctness.
— — — — — — — — — — — — — — — — — — — —
Reset
Press
DWVVQP VQ KR FQYP VJG RCPGN 6JGP
RTGUU VJG 4'5'6 DWVVQP YKVJ C RQKPVGF QDLGEV
to reset the unit to the IDFWRU\ VHWWLQJV.
0QVG 2TGUULQJ VJG 4'5'6 DWVVQP YKNN GTCUG VJG
WLPH and stored stations.
Reset
— — — — — — — — — — — — — — — — — — — —
Installation Opening
This unit can be installed in any dashboard
having an opening as shown below. The
dashboard should be 4.75mm - 5.56mm thick
in order to be able to support the unit.
Install the unit
+ORQTVCPV
Remove the two WUDQVLW screws on the top of the
XQLW before installation.
1VJGTYKUG VJG RNC[GT YKNN PQV YQTM
Mounting bolt
Mounting bolt
rubber cushion.
Rubber cushion
Remove the
two screws.
+PUGV OQWPVKPI EQNNCT KPVQ VJG FCUJDQCTF
and bend the mounting tabs out with a
screwdriver.
/CMG UWTG VJCV NQEM NGXGT KU WUJ YKVJ VJG
OQWPVKPI EQNNCT
PQV RTQLGEVKPI QWVYCTF
5GEWTG VJG TGCT QH VJG WPKV
After fixing mounting bolt and power
EQPPGEVQT Z VJG TGCT QH VJG WPKV VQ VJG ECT
body by WKH rubber cushion.
3. Insert trim plate.
EN - 11
Installing the panel
*QNF VJG RCPGN CPF GPUWTG VJG HCEG LV RSHQ
6et one side of WKH SDQHO LQ WKH SDQHO EUDFNHW
Press the RWKHU VLGH RI WKH SDQHO XQWLO LW ORFNV
2TGUU VJG VQR QH RCPGN WPVKN KV NQEMU
1
2
1
2
— — — — — — — — — — — — — — — — — — — —
3
Removing the unit
5YKVEJ VJG RQYGT QHH
4GOQXG VJG RCPGN CPF VJG VTKO RNCVG
+PUGTV DQVJ 6-G[U KPVQ JQNG QP VJG HTQPV
of the set until they lock.
3. 6OLGH out the unit.
