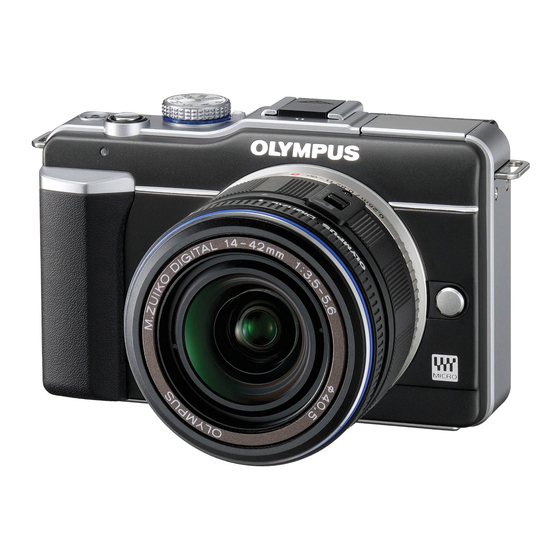
Olympus PEN E-PL1 Manual - Page 5
Browse online or download pdf Manual for Digital Camera Olympus PEN E-PL1. Olympus PEN E-PL1 36 pages.

Menu button: Press this button to access camera menus; see the section
"Ordering from Camera Menus" for the fine points you need to know
about the process.
Info button: Pressing this button changes the amount and type of data
displayed on the monitor during shooting and playback. The upcoming
section "Monitor Matters: Customizing the Shooting Display" explains
how you can tweak the display in shooting mode; Chapter 4 covers
playback display options. This button also comes into play for some
other operations, such as changing the level of magnification when you
zoom the display.
Start/OK button and arrow pad: This collection of buttons is key to
most operations on the camera.
After displaying menus, for example, use the arrow keys to select a
menu item and then press the Start/OK button to select that item. You
also use the Start/OK button during shooting to access control screens
that enable you to quickly adjust picture-taking settings. And notice that
each of the four arrow keys bears a label: The label tells you that you
can press the button to directly access the function indicated by the
label. For example, you can display flash settings by pressing the right-
arrow key — the one sporting the lightning bolt, which is the universal
symbol for flash.
To save time and space in this book, I refer to the Start/OK button as
just OK (okay?). And I refer to the arrow keys by their position on the
arrow pad — "press the right-arrow key, press the down-arrow key,"
and so on.
Erase button: During playback, you can erase photos by pressing this
button. Chapter 4 has details.
Speaker: Finally, note the tiny holes just above the OK button/arrow
key cluster. When you play movies or picture files that contain sound,
the audio comes wafting through those holes, which lead to the internal
speaker. (And yes, you read me correctly: You can annotate your still
photos with audio notes; see Chapter 9 to find out how.)
And the rest . . .
Just for good measure, the following list details features found on the front,
right side, and bottom of the camera:
Connection ports: Under the flap on the right side of the camera, you
find two ports that enable you to connect the camera to other devices,
as shown in Figure 1-3. The USB/AV (Universal Serial Bus/Audio Video)
port is for connecting the camera to a computer, printer, or stan-
dard definition television set. The HDMI (High-Definition Multimedia
Interface) port enables you to connect the camera to an HD display
for playback.
Chapter 1: Getting the Lay of the Land
11
