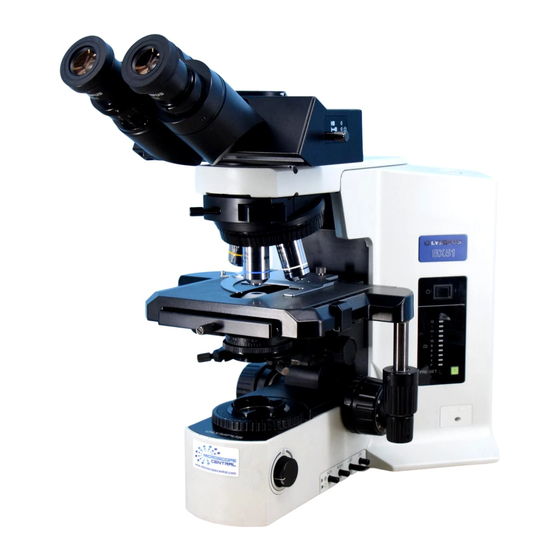
Olympus BX51 Operating Manual - Page 9
Browse online or download pdf Operating Manual for Microscope Olympus BX51. Olympus BX51 11 pages. System
Also for Olympus BX51: Operating Manual (17 pages), Instructions Manual (40 pages), Instructions Manual (34 pages), Instructions Manual (37 pages)

Image acquisition
1. Turn on the blue SensiCAM camera (switch at the top of the camera). Wait until the blinking light turns green.
2. Slide the light path selector knob (2) to share the image with the camera (eye and camera position).
3. Open ImagePro Plus and adjust settings.
‐Log on the computer as CNF USER (no password).
‐Double‐click on the "USE this ImagePro Plus" desktop icon.
‐Select Acquire: Video/Digital.
If a window to select an "Analog Simulation Image File" appears, click "Cancel"
‐A window titled 'Analog Simulation' appears. Use the Current Driver pull down menu to select the
"SensiCAM Cooke Driver (3.6)" BE SURE THE DRIVER REMAINS SELECTED.
‐Set the Capture Depth to 8‐bit mono in the pull down menu.
‐Set the preview (pvw) and acquisition (acq) areas (Full is 1376x1040).
4. Open a live image Preview button.
‐Adjust focus and lighting (3) on the microscope.
‐Adjust camera exposure.
‐Set how the image file is to be saved using the Image Tab.
‐For multiple images/movies, check the 'Enable Multiple Images Capture' box, and set controls.
5. Capture the image.
‐Stop the live Preview using the 'Stop' button.
‐Click the 'Snap' button, and an image file will appear.
‐Save the image. If it was taken in 12‐bit mono, the computer can't open it. You could convert it using
File>Batch Conversion and select the source file and the destination folder and file type (TIFF is best).
6. Take measurements in the saved image.
‐Select the objective (spatial calibration). Click the caliper button on the menu bar, and select the
objective that is in use.
‐Click the measure Distance button on the menu bar to open a 'Measure Distance' pop up window.
‐Click and drag to measure the feature (in microns).
‐To save the annotation, click the camera button on the menu bar. A new file is created. Save it as a TIFF.
7. To insert a scale bar, click the caliper button on the menu bar, and double‐check that the correct objective is selected.
‐Select the 'Marker' button in the pop‐up window.
‐A 'Spatial calibration Marker' pop‐up window appears.
‐ Choose color, marker length, and non‐destructive mode.
‐ Change the positions by double‐clicking on the bar or the label BEFORE closing the message window.
‐To save the scale bar, click the camera button on the menu bar. A new file is created. Save it.
8. Take the images on a flash drive or transfer them to the Lab_xfer icon.
Files are automatically deleted in 7 days.
9. Close the ImagePro Plus software.
10. Leave the computer on.
Cooke SensiCAM B/W camera; driver v3.6 & ImagePro Plus software; v6.2
9
