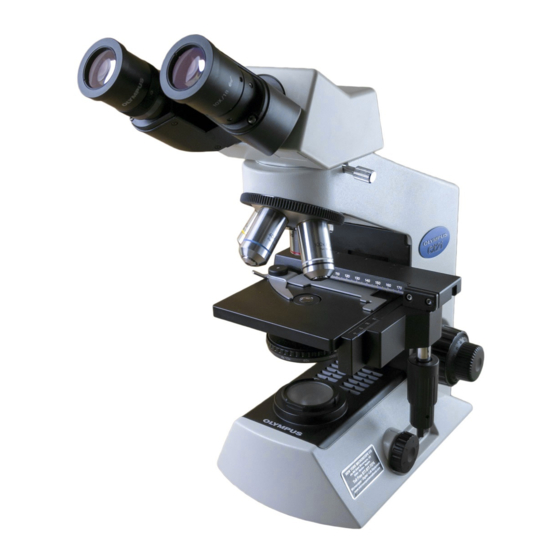
Olympus CX21 Maintenance Manual - Page 21
Browse online or download pdf Maintenance Manual for Microscope Olympus CX21. Olympus CX21 25 pages. Education microscope
Also for Olympus CX21: Instructions Manual (28 pages)

CX21 MAINTENANCE MANUAL
4. Replacing Circuit Board
4-1 CX21 wiring diagram
INPUT
100-120/
220-240VAC
50/60Hz
If the lamp is not lit, check if the halogen bulb (6V20W) is broken or lamp socket is burned and
also check that the voltage is being outputted each from (1), (2), (3) using multimeter to identify
the defective part. (Refer to the figure below.)
In case where there is a problem in the circuit board, replace the circuit board as a whole because
the components can not be supplied. Since the rheostat ass'y is incorporated in the circuit board,
•@
the voltage adjustment is not necessary. (
4-2 Replacement of circuit board / socket
*2 (a)
(H)
(B)
*3 (b)
< Fig. 1 >
soldering
Socket
cable
(H)
A006
D
C
(a)
*6
D
(I)
6V20WHAL
(3)
A007
(a)
(G)
A005
< Fig. 2 >
(Inlet)
U1
L
Circuit Board
E
N
1
2
D-cut surface
*1
slit
(a): screw (*2) for fixing
the base plate (B).
(A)
< 5 pcs. >
A008
(b): screw (*3) for fixing
the circuit board (E).
< 5 pcs. , 5 pcs. on board>
Screw with washer
*3
(b)
(2)
Rheostat ass'y
(E)
(C)
A004
C
(B)
(a)
(b)
(b)
(b)
D
(F)
D
Only use it
(a)
on this side.
( refer to Fig.1. )
*3
*2
XDS1
X3
X1
X2
It has been already adjusted: Min. 1.5V or less, Max. 4.5V +/-0.3
(1) Insert a Allen wrench from the slit of bottom
and loosen the screw (*1) as shown in Fig.1.
Screw : ACU3X5SA (*1), 1pc.
Dial side
Shaft
(2) Pull out the dial (A) in arrow direction.
(3) Take off the bottom plate (B) by removing the
screws (*2) indicated by (a) as shown in Fig.1
and Fig.2.
Screws : CUK3X6SA (*2), 5pcs.
Washer : HWB3SA, 1pc.
(only use it on the lower right as show in Fig. 1.)
(1)
(4) Remove the spacers (C) by removing the
100-120V /
screw (*3) indicated by (b) as shown in Fig.1
220-240VAC
and Fig. 2.
(D)
Screws : CUKSK3X6SA (*3), 10pcs.
(Spacer: 5pcs; 2 screws are used in 1 spacer
as shown in Fig.2.)
(5) Remove the ground wire (D) from the bottom
*4
plate (B).
*5
Screw : CUKSK4X6SA (*4), 1pc.
Washer : HWB4SA, (*5), 1pc.
(b)
(6) Disconnect the socket cable from the part (2)
(a)
by unsoldering it.
(7) Take off the circuit board (E) and replace it.
* If the socket (G) is replaced, remove the screws
(*6) from the socket mount (F), cut the two
*2
binders (H) and remove the tube (I).
(8) Assemble them in reverse order .
- 18 -
REPAIR PROCEDURE
X1/X2 : Binder
X3 : Tube
XDS1 : Socket
6V20W
Halogen Lamp
)
