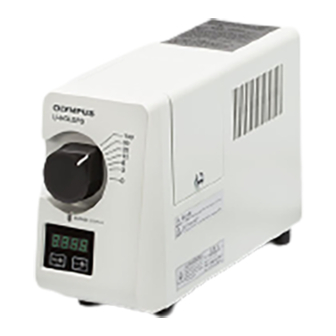
Olympus U-LLG150 Instruction Manual - Page 13
Browse online or download pdf Instruction Manual for Laboratory Equipment Olympus U-LLG150. Olympus U-LLG150 20 pages. Light guide illumination system

1
7
2
Fig. 13
6
4
3
a
Fig. 14
8
Fig. 15
2
4
Fig. 16
Replacement of the Lamp
6
<< Applicable lamp >>
DC130W SHI Lamp (USHIO INC. SHI-130 OL)
CAUTION
? Wear protective gloves and protective glasses when replacing the
lamp.
5
1
Use a coin or similar to unlock the lamp replacement cover.
2
Lift the lamp replacement cover to remove the cover.
3
Unplug the lamp connector
4
Hold the black frame and raise the lamp slowly upward.
b
CAUTION
? Do not touch the glass area of the lamp (front glass or reflector)
directly with bare hands. The lamp may not be used due to the
attached dirt or fingerprints.
5
Insert a new lamp to the light source unit along the slide rail
6
Connect the lamp connector
Mount the lamp replacement cover and lock the lamp replacement
7
cover with a coin or similar.
8
Press the reset switch for a period of time (for 2 seconds) and set the
accumulated lighting time of the lamp to "0".
Replacement of Fuse
7
1
Turn \ (OFF) the power switch of the light source unit and unplug the
power cord plug from the outlet.
2
Remove the fuse box with flat-blade screwdriver.
3
Replace the fuse in the fuse box with a new fuse. (This procedure is
not illustrated.)
1
<< Applicable fuses >>
T3.15A(H)250V (LITTELFUSE 02153.15XP)
CAUTION
4
Return the fuse box to the original position and fix it with flat-blade
screwdriver.
• Before replacing the lamp, be sure to turn \ (OFF) the power
switch and unplug the power cord from the outlet, and wait
(more than 40 minutes as a guide) until the lamp replacement
cover and the lamp are cooled down sufficiently. If you replace
the lamp keeping the power switch / (ON), the lamp may be
damaged.
• If the lamp is dropped, the glass is broken and you may be
injured.Pay careful attention when you replace the lamp.
• Using a non-specified fuse may cause a fire hazard.
U-HGLGPS
(Figs. 13 to 15)
a
.
a
b
.
(Fig. 16)
9
