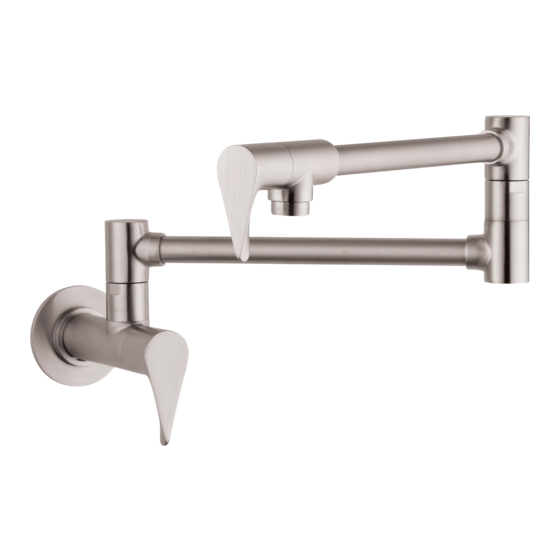
Axor Starck Installation/User Instructions/Warranty - Page 2
Browse online or download pdf Installation/User Instructions/Warranty for Plumbing Product Axor Starck. Axor Starck 16 pages.
Also for Axor Starck: Instructions For Use Manual (12 pages), Installation Manual (16 pages)

E N G L I S H
T EC HN I C A L INF O RM AT IO N
Water pressure
Recommended
Maximum
Hot water temp.
Recommended
Maximum
Hole size in mounting surface
Max. depth of mounting surface
* Please know and follow all applicable local plumbing
codes when setting the temperature on the water heater.
I N STALL ATI ON CO N SI DE R AT I ON S
⁄ For best results, Hansgrohe recommends that
this unit be installed by a licensed, professional
plumber.
⁄ Please read over these instructions thoroughly
before beginning installation. Make sure that you
have all tools and supplies needed to complete
the installation.
This faucet is for use with cold water only.
Do not connect it to the hot water supply.
⁄ If the countertop is less than ¾" thick, it must be
reinforced to distribute the weight of the pot filler.
⁄ Allow sufficient space for the escutcheon. There
should be a minimum 1½" between the center line
of the mounting hole and the wall or backsplash.
⁄ This faucet requires ½" NPSM connection hose
(not included)
⁄ Keep this booklet and the receipt (or other proof
of date and place of purchase) for this product in
a safe place. The receipt is required should it be
necessary to request warranty parts.
2
15 - 75 PSI (0.1 - 0.5 MPa)
145 PSI (1 MPa)
120°-140° F (48° - 60° C)*
158°F (70° C)*
1⅛"-1⅜"
(29-35 mm)
2¾" (70 mm)
F R A N A I S
D O NN É ES T EC H NIQ UES
Pression d'eau
recommandée
maximum
Température d'eau chaude
recommandée
maximum
Dimension du trou dans
la surface de montage
Profondeur maximale de
la surface de montage
* Vous devez connaître et respecter tous les codes de
plomberie locaux applicables pour le réglage de la tem-
pérature du chauffe-eau.
À P RE N DR E EN CON S ID ÉRATION PO UR
L' IN STAL L ATI ON
⁄ Pour de meilleurs résultats, Hansgrohe recom-
mande que ce produit soit installé par un plombier
professionnel licencié.
⁄ Veuillez lire attentivement ces instructions avant de
procéder à l'installation. Assurez-vous de disposer
de tous les outils et du matériel nécessaires pour
l'installation.
Ce robinet est conçu uniquement pour
l'eau froide.
⁄ Si le comptoir mesure moins de ¾ po d'épaisseur,
vous devrez le renforcer pour répartir le poids du
robinet remplisseur.
⁄ Laissez suffisamment d'espace pour l'écusson.
Vous devez laisser un espace minimum de 1½ po
entre la ligne centrale du trou de montage et le
mur ou dosseret.
⁄ Ce robinet requiert un tuyau d'alimentation ½ po
NPSM (non compris).
⁄ Conservez ce livret et le reçu (ou une autre preuve
sur laquelle figurent la date et l'endroit de l'achat)
pour ce produit dans un endroit sûr. Le reçu est req-
uis si vous commandez des pièces sous garantie.
15 - 75 PSI (0.1 - 0.5 MPa)
145 PSI (1 MPa)
120°-140° F (48° - 60° C)*
158°F (70° C)*
1⅛ po -1⅜ po
(29-35 mm)
2¾ po (70 mm)
