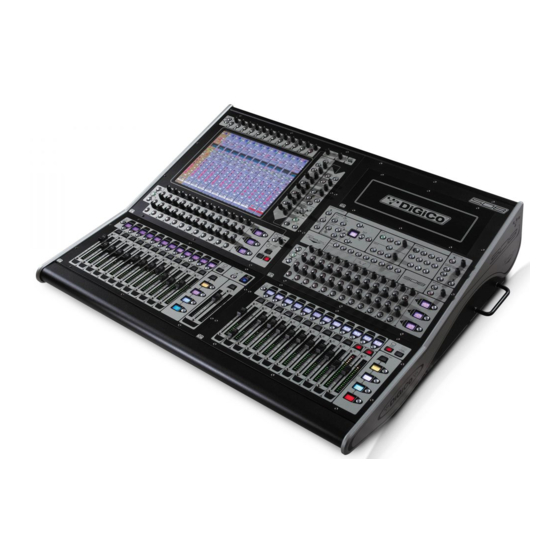
digico SD10 User Manual - Page 19
Browse online or download pdf User Manual for Recording Equipment digico SD10. digico SD10 20 pages. Replacing and cleaning faders
Also for digico SD10: Manual (9 pages)

Rack Connections
With a Rack selected in the left hand port selection list, the window will change to look something like the image below, depending
on the cards installed in the connected rack. The graphic shows the 14 available cards/slots, 7 input & 7 output.
In order to use the rack, the on-screen contents of the rack must match the cards physically installed in the rack connected. There
are two ways of achieving this :
Manual Conforming of Rack:
Select each card (column) and manually select the appropriate card in the Card/Slot Type drop down menu in the lower section of
the window (displayed when the Cards & Sockets button towards the bottom-left is selected). Once the correct card type is
selected, the Label at the bottom the selected card will turn green, indicating the card type matches the card installed in the rack. If
the Card Type name is Red, then there is a mismatch, and the error should be corrected by selecting the correct card type.
Automatic Conforming:
There are three levels of automatic conforming:
-
globally, using the red Conform All Ports button in the bottom left of the window;
-
on a rack-by-rack basis, using the conform rack button just below the rack view
section of the window;
-
on a card-by-card basis, by selecting a socket from the card in the graphical display
and using the conform card button next to the Card/Slot type button selector in the
lower section of the window. (Note that the Cards & Sockets button towards the
bottom-left should be selected)
Pressing any of these buttons will correctly select the card types for the range in question. Once complete, all of the Card Labels
beneath each slot should turn green.
Copying Audio and Listening to Copied Audio (External Recorder Setup)
Any incoming MADI or Optocore stream can be copied to any MADI Output by selecting the incoming Port in the Ports list (in the top
left of the panel) and selecting the MADI output in its Copy Audio To drop-down menu (in the top right of the panel). The console
will send the 56 channel MADI stream to the selected output.
In addition, by connecting a MADI return from the external device (the playback from a recorder, for example) to its corresponding
MADI input on the console, it can be monitored in the same channels as the original source material: press the Listen to Copied
Audio button. Press the button again to return to normal monitoring.
Chapter 1 - Getting Started
1-11
