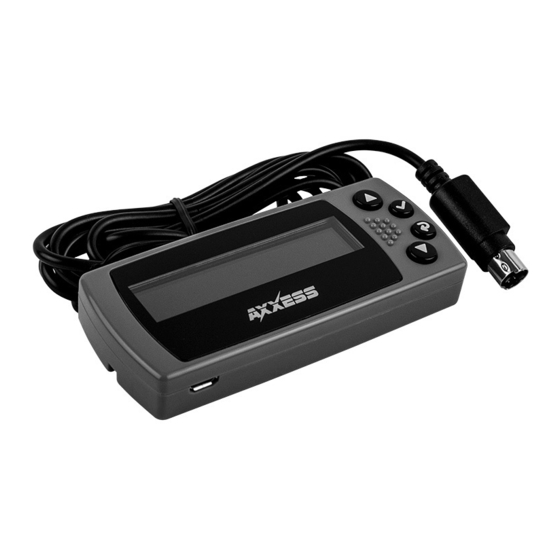
Axxess AX-LCD Installation Instructions Manual - Page 4
Browse online or download pdf Installation Instructions Manual for Automobile Accessories Axxess AX-LCD. Axxess AX-LCD 16 pages. Lcd screen 2000-up
Also for Axxess AX-LCD: Installation Instructions (5 pages), Installation Instructions (4 pages)

For retaining the personalization menu that is lost when removing the factory radio
The AX-LCD allows the retention of the
vehicles personalization menu that is lost
after removing the factory radio.
The DIN harness with leads provided is
only for the following vehicles. For other
applications use the pre-wired DIN harness
provided with the Axxess interface/kit:
• Connect the Black wire to ground.
• Connect the Red wire to accessory power.
For retaining and controlling the factory satellite radio while using an Axxess interface
• Connect the DIN cable from the LCD screen into the DIN connector on the Axxess interface.
4
CONNECTIONS TO BE MADE
For the Toyota Camry 2012-2014
The following connections are to be made to
the factory 28-pin connector behind the radio:
• Pink of the AX-LCD to pin-9
• Blue/Pink of the AX-LCD to pin-10
For the Mazda 6 2014-2015
The following connections are to be made to
the factory 24-pin connector behind the radio:
• Pink of the AX-LCD to pin-1L
• Blue/Pink of the AX-LCD to pin-1J
(this is the pin view of the factory harness)
(this is the wire view of the factory harness)
