Axxess AXDSPX-HN3 Installation Instructions Manual - Page 3
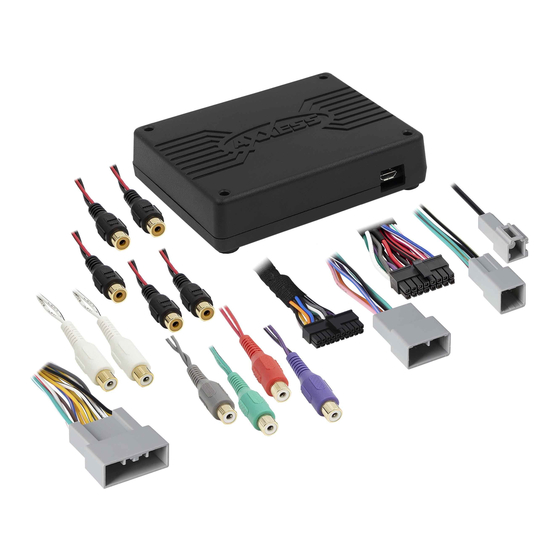
Browse online or download pdf Installation Instructions Manual for Automobile Accessories Axxess AXDSPX-HN3. Axxess AXDSPX-HN3 16 pages. Honda dsp interface with amp bypass harness 2016-up

1. Locate the factory amp in the passenger side kick panel. Unplug and remove the amp.
2. Install the AX-DSPX-HN3 harness to the vehicle and make all necessary connections, but
leave the amp turn-on wire disconnected.
3. Connect the AX-DSPX-HN3 harness to the AX-DSPX-HN3 interface.
4. Connect the AX-DSPX-HN3 interface harness to the AX-DSPX-HN3 interface.
5. Download and install the AXDSP-X app from the Google Play Store or Apple App Store.
6. Cycle the key on.
7. Open the app then select the Bluetooth Connection tab. Follow the instructions to pair the
mobile device to the interface. Refer to page 5 for more information. (Figure A)
8. Scroll to the Configuration tab then select the vehicle type. Press the Lock Down ‡ button to
save the configuration. Refer to page 6 for more information. (Figure B)
9. Connect the amp turn-on wire.
10. Click the Identify button to confirm the interface is connected properly. A chime will be heard
from the front left speaker. Test all functions of the installation for proper operation.
Note: The outputs may need to be configured within the Outputs tab.
11. Adjust the settings in the app as desired. Press the Lock Down ‡ button to save any new
configurations.
‡ Anytime the interface is locked down the key must be cycled off then back on
Note: The interface provides a 12-volt 1-amp output to turn on aftermarket amp(s). If installing
multiple amps, an SPDT automotive relay will be required if the amp turn-on current of all
amps combined exceeds 1-amp. Use Metra part number E-123 (sold separately) for best results.
INSTALLATION
(Figure A)
(Figure B)
REV. 8/3/2020 INSTAXDSPX-HN3
3
