Epson 9800 - Stylus Pro Color Inkjet Printer Unpacking And Setup Manual - Page 25

Browse online or download pdf Unpacking And Setup Manual for Printer Epson 9800 - Stylus Pro Color Inkjet Printer. Epson 9800 - Stylus Pro Color Inkjet Printer 27 pages. Stylus pro 800 series
Also for Epson 9800 - Stylus Pro Color Inkjet Printer: Brochure & Specs (8 pages), Getting Started Manual (10 pages), User Manual (11 pages), Quick Reference Manual (12 pages), Limited Warranty (12 pages), Brochure & Specs (8 pages), Brochure & Specs (6 pages), Brochure & Specs (16 pages), Notice Sheet (4 pages)
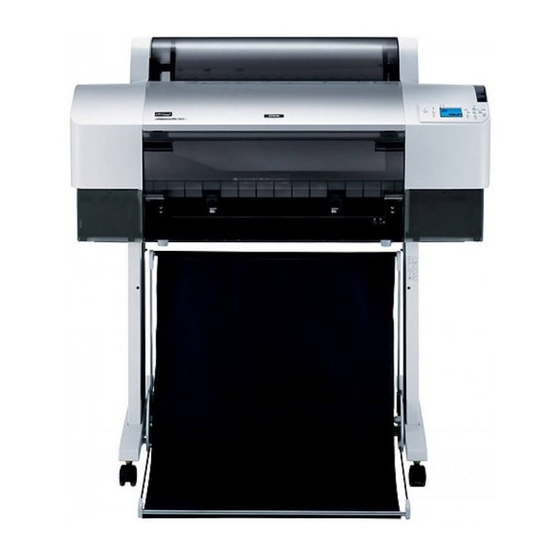
Epson 9800 - Stylus Pro Color Inkjet Printer Unpacking And Setup Manual
Using the Optional Interface Card
The following optional Ethernet interface card lets
you use your printer on a network. The Ethernet
interface card automatically detects the protocols
on your network, so you can print from
Windows XP, Me, 98, and 2000, or Mac OS X and
9.x on an AppleTalk network.
EpsonNet 10/100 Base Tx
Int. Print Server 5
Note:
The asterisk (✽) is a substitute for the last digit of the
product code, which varies by location.
Installing the optional interface card
To install an optional interface card, follow the steps
below.
Note:
Before you install the optional interface card, see the
documentation that comes with the card for setup
information.
1. Make sure both the printer and the computer
are turned off.
2. Make sure the power cord is unplugged from
the wall outlet.
c
Caution:
Do not install the interface card when the
printer is connected to a wall outlet. Doing
so may damage the printer.
3. Disconnect the interface cable, if necessary.
4. Use a cross-head screw driver to remove the
C12C82434✽
5. Slide the interface card along the slots on both
two screws that secures the shield plate to the
optional interface slot, and then lift off the
plate. Be sure to keep the screws for future use
when you re-install the shield plate.
Note:
Do not remove any other screws around the
shielded plate.
sides of the interface compartment. Push it
firmly to fully insert the connector (at the rear
of the interface card) in the printer's internal
socket.
Note:
According to the interface card you use, it may
stick out from the slot.
25