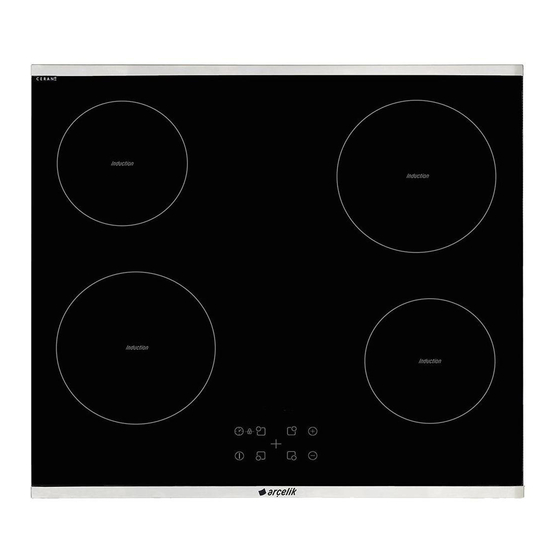
arcelik OI 636 User Manual - Page 8
Browse online or download pdf User Manual for Hob arcelik OI 636. arcelik OI 636 20 pages.

Installation and connection
•
The product must be installed in accordance
with all local gas and electrical regulations.
Do not install the hob on places with sharp
edges or corners.
There is the risk of breaking for glass
ceramic surface!
Electrical connection
Connect the product to a grounded outlet/line
protected by a fuse of suitable capacity as stated
in the "Technical specifications" table. Have the
grounding installation made by a qualified
electrician while using the product with or
without a transformer. Our company shall not be
liable for any damages that will arise due to
using the product without a grounding installation
in accordance with the local regulations.
DANGER:
The product must be connected to the
mains supply only by an authorised and
qualified person. The product's
warranty period starts only after correct
installation.
Manufacturer shall not be held responsible
for damages arising from procedures
carried out by unauthorised persons.
DANGER:
The power cable must not be clamped,
bent or trapped or come into contact
with hot parts of the product.
A damaged power cable must be replaced
by an Authorised Service Agent. Otherwise,
there is risk of electric shock, short circuit
or fire!
•
Connection must comply with national
regulations.
•
The mains supply data must correspond to
the data specified on the type label of the
product. Type label is at the rear housing of
the product.
•
Power cable of your product must comply
with the values in "Technical specifications"
table.
8/EN
DANGER:
Before starting any work on the
electrical installation, disconnect the
product from the mains supply.
There is the risk of electric shock!
Connecting the power cable
1. For single-phase connection, connect the
wires as identified below:
•
Brown/Black cable = L (Phase)
•
Blue/Grey cable = N (Neutral)
•
Green/yellow cable = (E)
2. For double-phase connection, connect the
wires as identified below:
•
Brown cable = L1 (Phase 1)
•
Black cable = L2 (Phase 2)
•
Blue/Grey cable = N (Neutral)
•
Green/yellow cable = (E)
Installing the product
If it is possible to touch the bottom of the
product since it is installed onto a drawer,
this section must be covered with a wooden
plate.
1
min. 30 mm
When installing the hob onto a cabinet, a
shelf must be installed in order to separate
the cabinet from the hob as illustrated in the
above figure. This is not required when
installing onto a built-in oven.
If the oven is below:
(Ground)
(Ground)
