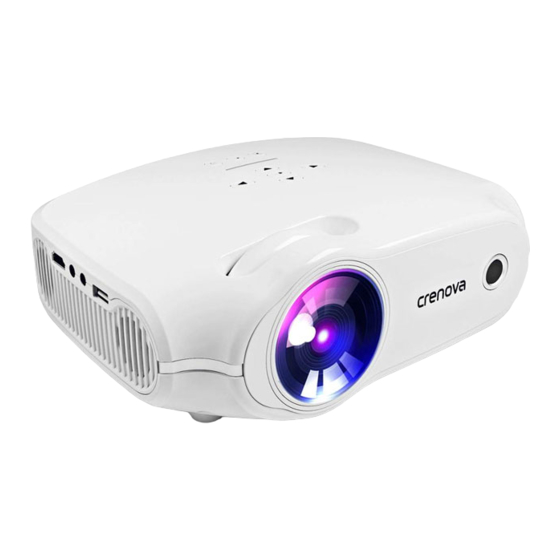
Crenova XPE498 User Manual - Page 7
Browse online or download pdf User Manual for Projector Crenova XPE498. Crenova XPE498 13 pages.

6. VOL- button (adjusts speaker volume)
7. Play/Pause button (plays/pauses the playing content)
8. Stop button (stops the playing content)
9. SOURCE button (selects the input source)
10. INFO button (operates the information function)
11. ENTER button (selects and confirms options)
12. Up (selects upward movement)
13. Left (selects leftward movement)
14. Right (selects rightward movement)
15. Down (selects downward movement)
16. MENU button (accesses projector menu system)
17. EXIT button (exits functions)
18. CH- button (changes channels)
19. CH+ button (changes channels)
20. Numeric buttons (enter numbers)
Setting Up the Projector
Before projecting, please be familiar with the following suggestions of placement, installation and
adjustment.
Projector Placement and Installation
You can place or install your projector in the following ways:
Front/Rear/Front Ceiling/Rear Ceiling
Front/Rear/Front Ceiling/Rear Ceiling
Whether the way you choose to project your images or videos, please keep these suggestions in
mind:
1. Ensure the place you set the projector is sturdy and even;
2. Do not block any ventilation openings which prevent the projector from overheating;
3. If the way you project is from the ceiling or from the rear, please ensure to select the correct
projection option in the menu system.
Projection Distance and Screen Size
The throw distance, zoom factor, aspect ratio, and other settings determine the approximate size
of the
image. Please refer to the following graph for the relationship between projection distance
and image size.
16:9 Aspect Ratio
Note: The graph and measurements provided are for reference only.
