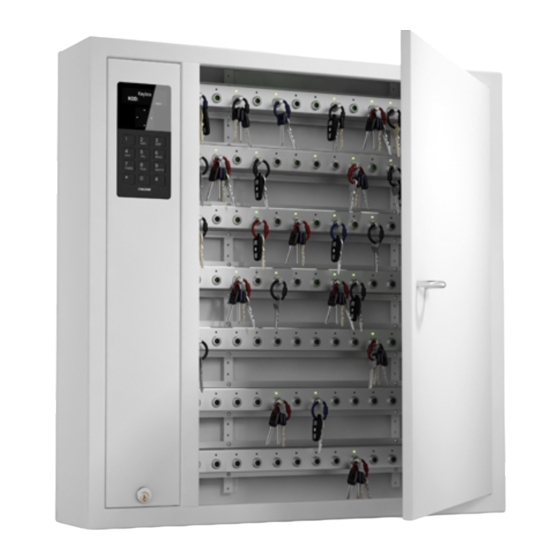
Creone KeEYBOX KEYRACK KEYWIN5 Installation Manual - Page 12
Browse online or download pdf Installation Manual for Locks Creone KeEYBOX KEYRACK KEYWIN5. Creone KeEYBOX KEYRACK KEYWIN5 19 pages.

STEP 8
When the correct RFID reader is connected to the cabinet and confirmed
as described above, it will be possible to test the card or badge in this
menu. Swipe the card or badge on the front of the reader to see the cor-
rect ID number in this menu. This is the number that should be entered
on the user profile to open the cabinet without a PIN code.
STEP 9
By activating this function, you will be able to connect an external alarm to
the cabinet and send the "Service Door Alarm" signal to another system.
See the wiring diagram on page 17 in these instructions.
STEP 10
By enabling "Smart Mode" for your cabinet you change the procedure for
users when opening the cabinet. When the user enters a valid PIN code,
they now need to choose whether they want to GET or RETURN a key to
the cabinet. If the user does not have a key in their possession, they will
automatically be presented with the "Fetch Key" session.
Fetch key – All keys the user has access to will be shown in the menu. By
pressing right arrow for the key, it will be marked as a key to be removed.
You can remove one or several keys. To confirm the keys, press # and the
door will open. Only the confirmed keys will be accessible for the user to
remove from the cabinet. Return key – The door will open immediately
and all keys in the possession of the user will be shown in the menu.
When a key is returned to the cabinet, the key will disappear from the
menu.
STEP 11*
Here you set the date. Erase the date with the left arrow and enter the
correct date. Confirm with #.
STEP 12*
Here you set the time. Erase the time with the left arrow and enter the
correct time. Confirm with #.
STEP 13
This function gives you as an administrator the option of unlocking all keys
in your system in an emergency. Enter # twice in this menu and all keys
will be unlocked. Then exit the menu and open the cabinet with the admin
code (default 301042#). When you close the door, all keys will return to
locked.
KeyWin 5 manual, Version 1.0.0. All and copyright reserved by Creone AB
STEP 14
Number of List Items. Here you can choose to display 1,2 or 3 keys in the
display when user have logged in.
STEP 15
DHCP is by default activated when starting up a new cabinet. If a fixed IP
address is to be used, this should be changed to "OFF".
STEP 16
If a fixed IP address is to be used, DH CP must first be set to "OFF".
Then you can enter the address in this field. If using this field, ask your IT
department for the correct information.
STEP 17
When using a fixed IP address, the Netmask also needs to be set. Enter
the correct Netmask in this field and confirm by enter #. If using this field,
ask your IT department for the correct information.
STEP 18
When using a fixed IP address, the Gateway must also be set. Enter the
correct Gateway in this field and confirm with #. If using this field, ask your
IT department for the correct information.
STEG 19
Here you will see your cabinet's software version. If you need help from
Creone's support team, this is information they may need to know.
STEG 20
"Reboot" is used when you need to restart the cabinet. This should
always be done after you have configured "Doors & Strips", "IP number",
"Netmask" and "Gateway".
STEG 21
By using "Factory reset", all information in the cabinet will be deleted.
STEG 22
Exit Configuration.
12
