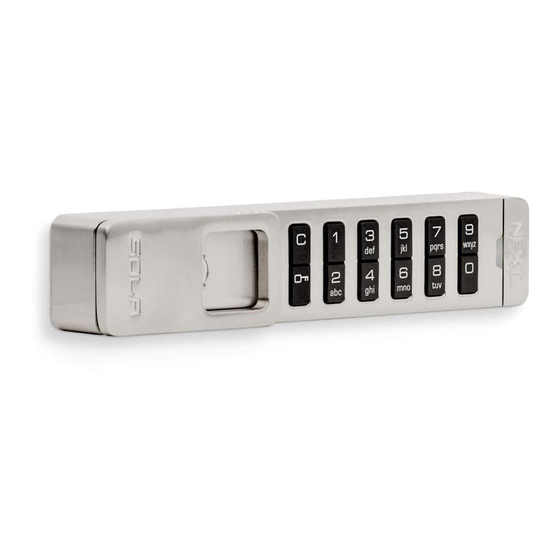
Digilock Next lock Sola Quick Start Manual
Browse online or download pdf Quick Start Manual for Keypad Digilock Next lock Sola. Digilock Next lock Sola 2 pages.

IMPORTANT:
Do not operate and turn the handle to the unlocked position without first installing
the lock or determining whether the lock is for a left or right handed configuration.
Hardware & Mounting
Door thickness: 0.1–5mm (.01"-.197")
Door thickness: 6-10mm (.236"-.394")
Use upper nut hardware
Use upper screw hardware
Sola Lock
Lock Base Seal
Flat Washer
Nut
Star Washer
Philips Screw
(M5 Pan Head)
Cam Stop*
*Refer to section on Cam
*Refer to section on Cam
and Cam Stop Position
and Cam Stop Position
Cam
Cam
Flat Washer
Star Washer
Star Washer
Nut
Flat Washer
Philips Screw (M5 Pan Head)
Keys
Operates the lock
Overrides user access
Allows access for management inspection
Provides external power
Assigns user credential
Sets lock functionality
*Up to 25 Manager Bypass Keys may be registered to a lock.
**1 Programming Key allowed per lock group.
Key Insertion
Key logo facing
to the right
Horizontal Left Handed
Door thickness: 11-22mm (.433"-.866")
Use upper screw hardware
Sola Lock
Lock Base Seal
Nut
Flat Washer
Star Washer
Philips Screw
(M5 Pan Head)
11-14mm Door
14-18mm Door
18-22mm Door
Cam Stop*
Cam Stop*
*Refer to section on Cam
and Cam Stop Position
Cam
Flat Washer
Star Washer
Nut
Flat Washer
Philips Screw (M5 Pan Head)
black
blue
User Key
Manager Bypass Key*
●
●
●
●
●
●
Key logo facing up
Vertical
Sola Lock
Lock Base Seal
Flat Washer
Lock Orientation - Views
Vertical
Flat Washer
Nut
Flat Washer
Philips Screw (M5 Pan Head)
Locked Position
Cam & Cam Stop Position
Cam throw: right
Locked Position
yellow
Cam throw: left
Programming Key**
●
●
●
●
Locked Position
●
Battery Replacement
1) Remove battery cover.
Key logo facing
to the left
Horizontal Right Handed
SOLA can be installed vertically or horizontally for left or right handed configuration.
Horizontal Left Handed
Locked Position
Horizontal Right Handed
Locked Position
Unlocked Position
Note: The position of the cam and cam stop varies depending on whether it is vertically
or horizontally installed for a left or right handed configuration.
Vertical
Horizontal Left Handed
Back-View
Cam throw: top
Unlocked Position
Locked Position
Unlocked Position
Cam throw: bottom
Unlocked Position
Locked Position
Unlocked Position
2) Pull battery carrier out.
3) Replace with 2 AAA batteries.
K E Y M A N A G E D
Unlocked Position
Unlocked Position
Horizontal Right Handed
Back-View
Back-View
Cam throw: top
Locked Position
Unlocked Position
Cam throw: bottom
Locked Position
Unlocked Position
4) Replace battery carrier along
with cover and secure.
