Crest Audio Versarray Mk III FlyQWIK Specifications And Instructions - Page 6
Browse online or download pdf Specifications And Instructions for Speaker System Crest Audio Versarray Mk III FlyQWIK. Crest Audio Versarray Mk III FlyQWIK 16 pages.
Right and Left Strapping Plates
Use the following steps to install both the right and left Strapping Plates.
1.
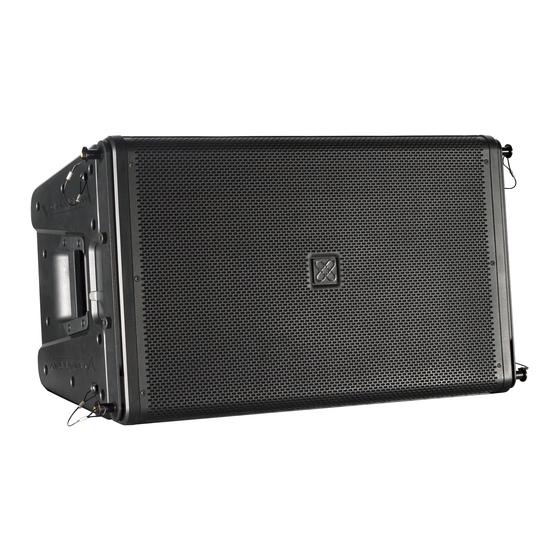
After the two bolts have been removed, place the bracket into position. Orient it so that the ear is on
the edge of the cabinet. See Fig. 11
Figure 11
2.
Place the bolts through the mounting holes in the plate into the holes in the cabinet.
See Fig. 12
Figure 12
3.
Slowly tighten down the bolts, while moving the wrench from bolt to bolt. This allows the bolts to
tighten the bracket down evenly. This also allows the head of the bolts to center in the mounting holes and
allow for self centering. You might have to slightly maneuver the bracket to assist with this.
Note: The Strapping Plates will be needed when using safety straps to secure the VR218
MKIII/Pro Sub to the floor or stage. The Safety Straps will stabilize the cabinet while
having the extra weight of the VR112 MKIII/Pros mounted on top.
Maximum Strap width: 3 inches
Minimum Strap width: 2 inches
Warning: Use a Safety Strap to secure the the VR218 MKIII/Pro Sub when installing more
than one VR112 MKIII/Pro to the ground stack kit on top of the cabinet.
6