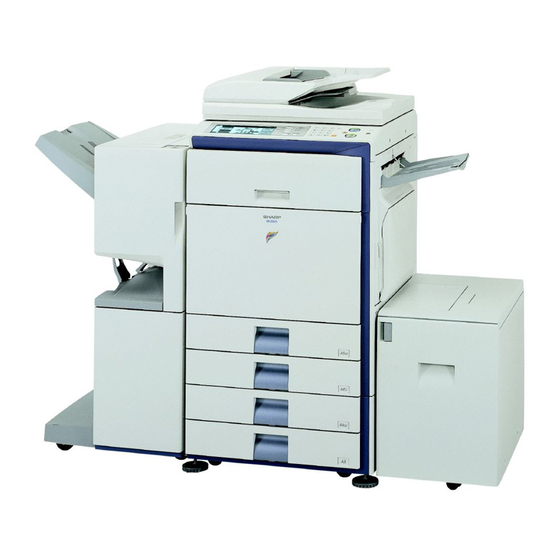
Sharp MX-2300N Guide Troubleshooting Manual - Page 20
Browse online or download pdf Troubleshooting Manual for All in One Printer Sharp MX-2300N Guide. Sharp MX-2300N Guide 44 pages. Sharp mx-2700n, mx-2300n mfp - scan to e-mail instructions
Also for Sharp MX-2300N Guide: Specifications (2 pages), Safety Manual (28 pages), Document Filing Manual (47 pages), Scan To E-Mail Instructions (7 pages), Software Setup Manual (48 pages)

Problem
The received image
file cannot be opened.
Transmission takes a
long time.
A destination is
pre-selected.
Cannot write to USB
memory.
(When using USB
Memory Scan.)
18
Point to check
Does the viewer program used by the
recipient support the format of the
received image data?
Does a message appear prompting you
to enter your password?
Is the resolution setting appropriate at
the time of scanning?
Is "Default Address Setting" enabled in
the system settings (administrator)?
Is the USB memory device connected
securely to the machine or USB hub?
Solution
The recipient may be able to open the file if you change
the file type and compression mode selected at the time
of transmission. Use a software program that is capable
of opening the selected file type and compression mode.
The received file is an encrypted PDF file. Ask the
sender for the password, or have the image sent again
in a non-encrypted format.
To select resolution and data compression settings that
are suited to the purpose of transmission and create
image data that is balanced in terms of resolution and
file size, pay attention to the following points:
Resolution settings
The default resolution setting is [200X200dpi] in scanner
and USB memory mode, and [200X100dpi] in Internet
fax mode. If the original does not contain a halftone
image such as a photo or illustration, scanning at the
default resolution will create a practical and useful
image. A higher resolution setting or the "Half Tone"
setting (in Internet fax mode) should only be selected if
the original contains a photo and you wish to give
priority to the quality of the photo image. Exercise
caution in this case as a larger file will be created than
when the default setting is used.
If you wish to send to a destination other than the
default destination, touch the [Cancel] key.
If you are the administrator and wish to change or
disable the default destination, change the settings as
appropriate in "Default Address Setting".
➞ System Settings (Administrator) > "Image Send
Settings" > "Scan Settings" > "Default Address
Setting"
Make sure that the USB memory device is connected
securely.
