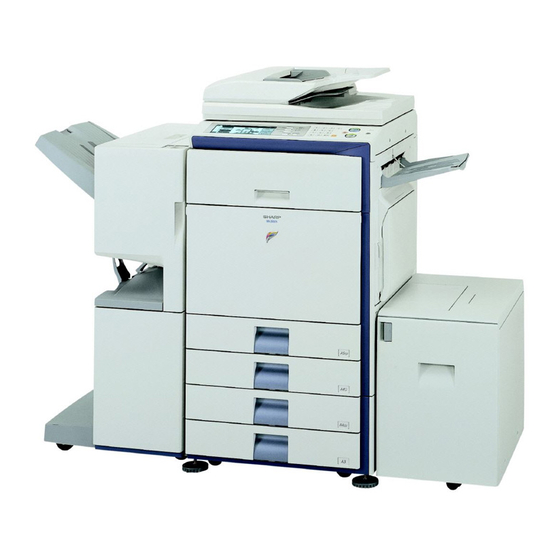
Sharp MX-2700N Guide Software Setup Manual - Page 17
Browse online or download pdf Software Setup Manual for All in One Printer Sharp MX-2700N Guide. Sharp MX-2700N Guide 48 pages. Sharp mx-2700n, mx-2300n mfp - scan to e-mail instructions
Also for Sharp MX-2700N Guide: Specifications (2 pages), Troubleshooting Manual (44 pages), Safety Manual (28 pages), Document Filing Manual (47 pages), Scan To E-Mail Instructions (7 pages)

WHEN THE MACHINE WILL BE CONNECTED WITH A
USB CABLE
Supported operating systems: Windows 98/Me/2000
* Administrator's rights are required to install the software.
• The PS3 expansion kit is required to use the PS printer driver or the PPD driver.
• To install the PPD driver when Windows 98/Me is used, see "USING THE STANDARD WINDOWS PS PRINTER DRIVER
(Windows 98/Me/NT 4.0)" (page 22) and install the driver using the Add Printer Wizard.
• To use the port created when the printer driver is installed for fax data transfer, install the printer driver first and then install
the PC-Fax driver.
1
Make sure that a USB cable is not
connected to your computer and the
machine.
If a cable is connected, a Plug and Play window will
appear. If this happens, click the [Cancel] button to close
the window and disconnect the cable.
The cable will be connected in step 14.
2
Insert the "Software CD-ROM" into your
computer's CD-ROM drive.
Insert the "Software CD-ROM" that shows "Disc 1" on the
front of the CD-ROM.
3
Click the [start] button, click [My
Computer] (
the [CD-ROM] icon (
In Windows 98/Me/2000, double-click [My Computer] and
then double-click the [CD-ROM] icon.
), and then double-click
).
INSTALLING THE PRINTER DRIVER / PC-FAX DRIVER
*
*
*
/XP
/Server 2003
4
Double-click the [Setup] icon (
5
The "SOFTWARE LICENSE" window
will appear. Make sure that you
understand the contents of the license
agreement and then click the [Yes]
button.
You can show the "SOFTWARE LICENSE" in a
different language by selecting the desired language
from the language menu. To install the software in the
selected language, continue the installation with that
language selected.
6
Read the message in the "Welcome"
window and then click the [Next]
button.
).
15
