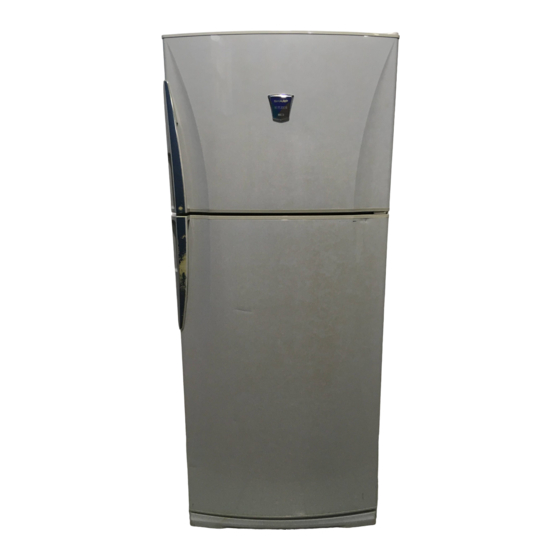
Sharp SJ-58L-T2A Service Manual - Page 23
Browse online or download pdf Service Manual for Refrigerator Sharp SJ-58L-T2A. Sharp SJ-58L-T2A 36 pages.

- 1. Table of Contents
- 2. Energy Label
- 3. Installation
- 4. Cautions and Informations
- 5. Specifications
- 6. Designation of Various Parts
- 7. List of Electrical Parts
- 8. The Fiche
- 9. Wiring Diagram
- 10. Functions
- 11. Assembling Procedures of Main Parts and Cautions
- 12. Modification Procedure of the Door Open Side
- 13. Cooling Unit
- 14. Replacement Parts List
- 15. Door Parts
Mounting the Door/Finishing
3
1. Apply Silicon grease H to the shaded portion
2. Insert Lower door and fit Center hinge vertically inverted. Remove washer if installed. Tighten the screws temporarily.
3. Fit Upper door and attach Upper hinge together with spacer. Tighten the screws temporarily.
4. Adjust the alignment of the door. Ensure that the gap between the cabinet and door is 12 mm. Tighten the upper hinge
screws.
5. Secure Upper door. Open Lower door and tighten the center hinge screws. (No drawing)
6. Check the following. To readjust the door position, loosen Center and Bottom hinges.
Whether the distance to activate the door switch is correct.
Whether each door can be opened/closed smoothly.
Whether each door is properly sealed when closed. (Check by inserting a sheet of paper between the door and
cabinet when closing. The refrigerator is not properly sealed if the paper falls.)
7. Apply Silicon grease H to the shaded portion
8. Replace the cap in Evaporating pan cover on the right side.
9. Reattach Evaporating pan cover, Upper hinge cover and Top cover.
10. Make sure that each door can be opened and closed normally. (If any of the doors cannot open/closes normally, tilt the
refrigerator slightly backward by screwing out the two adjustable feet.) Furthermore, connect the power plug, make sure
that cold air is not leaking from the door packing, and that the cabinet lamp operates properly when the door is
opened/closed.
Retain removed parts in case doors are to be changed back to right opening.
3
4
12mm
6
+
3.5
+
2 1.0mm
2
1
of part A(Bottom hinge L) and attach it to the left side.
of the door packing.
9
3
0.5mm
2
1
Figure M-3
9
3
2
7
A
8
9
23
SJ-58L-T2
SJ-63L-T2
SJ-68L-T2
