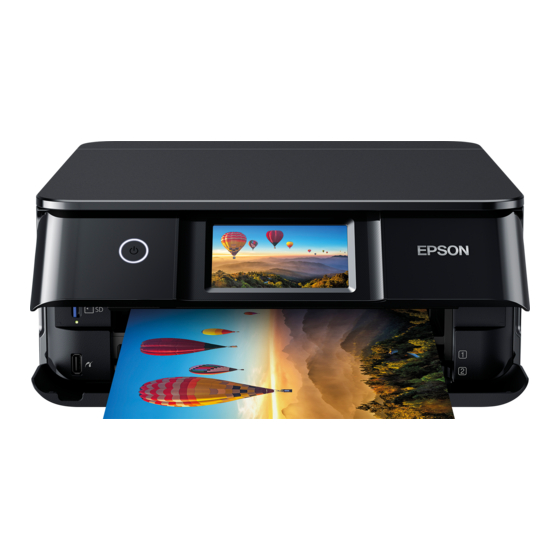
Epson XP-8700 Series Start Here - Page 3
Browse online or download pdf Start Here for Printer Epson XP-8700 Series. Epson XP-8700 Series 4 pages.
Also for Epson XP-8700 Series: Start Here (2 pages), Setup Manual (13 pages)

1
Lower the front cover.
2
Pull out a paper cassette.
Cassette 1
3
Slide the side edge guides outward.
Cassette 1
4
Insert the paper with the glossy or printable side
facedown.
Cassette 1
Make sure the paper is loaded against the back of the
Note:
cassette and not sticking out from the front of the cassette.
5
Slide the side edge guides against the paper, but not too
tightly. Make sure the paper is under the tabs on the side
edge guides.
6
Keep the cassette flat as you insert it all the way.
Cassette 1
7
Select the paper settings on the product's control panel.
Cassette 2
Cassette 2
Cassette 2
Cassette 2
6
Install software
Note:
• If you are using a Mac or your computer does not have a
CD/DVD drive, an Internet connection is required to obtain the
product software.
• To print from a Chromebook™, go to
http://epson.com/support/chromebookprint (U.S.) or
http://epson.ca/support/chromebookprint (Canada) for instructions.
Firmware Update Notice:
genuine Epson-branded cartridges. Other brands of ink cartridges and
ink supplies are not compatible and, even if described as compatible,
may not function properly or at all. Epson periodically provides firmware
updates to address issues of security, performance, minor bug fixes and
ensure the printer functions as designed. These updates may affect the
functionality of third-party ink. Non-Epson branded or altered Epson
cartridges that functioned prior to a firmware update may not continue to
function.
1
Make sure the product is NOT CONNECTED to your
computer.
If you see a Found New Hardware screen, click Cancel
Windows
:
®
and disconnect the USB cable.
2
Insert the product CD (Windows only) or download and run
your product's software package. For the latest software,
visit http://epson.com/support/xp8700 (U.S.) or
http://epson.ca/support/xp8700 (Canada).
3
Follow the instructions on the computer screen to run the
setup program.
4
When you see the Select Your Connection screen, select
one of the following and follow the on-screen instructions:
•
Wireless connection
In most cases, the software installer automatically
attempts to set up your wireless connection. If setup is
unsuccessful, you may need to enter your network name
(SSID) and password.
•
Direct USB connection
Make sure you have a USB cable (not included).
Mobile and voice-activated printing
Print directly from your Android™ (v4.4 or later) device*.
•
Simply connect your printer and device to the same network
and tap the menu icon to select the print option.
•
Turn your mobile device into an intuitive, easy-to-use printing
and scanning control center with Epson Smart Panel.
Download the app from your mobile device's app store.
Print remotely with Epson Connect™. See your online
•
User's Guide for instructions or learn more at
http://epson.com/connect (U.S.) or
http://epson.ca/connect (Canada).
Use voice-activated assistants to print a variety of creative
•
and everyday items from your Epson product. Simply add your
product to an Epson Connect account, then link the account
to a voice-activated assistant. See http://epson.com/voice
(U.S.) or http://epson.ca/voice (Canada) for more information.
* May require the Epson Print Enabler or Mopria Print Service app from
Google Play™.
The printer is designed to work only with
