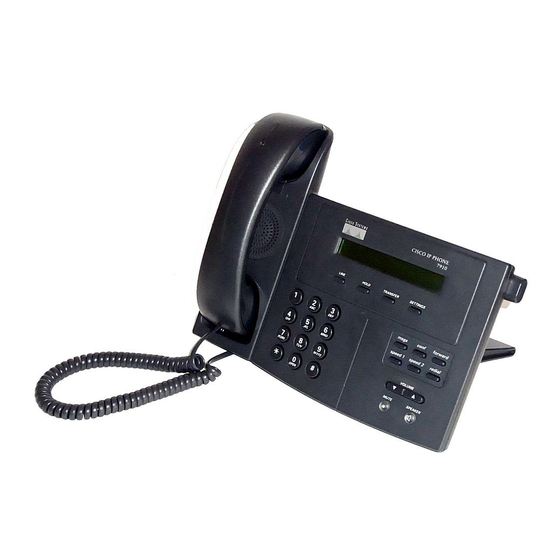
Cisco 7910G Quick Reference - Page 2
Browse online or download pdf Quick Reference for IP Phone Cisco 7910G. Cisco 7910G 2 pages.

QUICK REFERENCE
PHONE SETTINGS
The Settings button allows you to
personalize some of the features of
your phone. A screen menu will assist
you in adjusting various settings
such as ringer type and contrast. Use
the [+] or [-] keys to scroll through the
options or enter the number of the
desired option
Settings Menu
Use the Settings menu to view or
change
1. Handset volume
2. Speaker volume
3. Ringer volume
4. Model Information (View only)
5. LCD contrast
6. Network configuration (Do not alter!)
7. Ringer Type
8. Timer
Remember to use # key to save any
setting you change
Volume
1. Press SETTINGS button
2. Watch CALL DISPLAY for
information
3. Use [+] or [-]keys to scroll through
menu options
4. Enter the NUMBER of the option
( E.g. Enter 3 for ringer volume )
5. Press the # key to save changes
6. Press SETTINGS button again to
exit Settings
Ringer Type
■
1.
Press SETTINGS button
2.
Press 7 for ringer type
3.
Use up (+) or down (-) to choose
between the two ringer types
available
4.
Press # key to save
LCD display contrast
1. Press SETTINGS button
2. Press 5 for LCD contrast
3. Use up (+) or down (-) to select
desired contrast level
4. Press # key to save
P.2
WEB INTERFACE (CALL MANAGER)
Each user has their own personal Web
site to allow them to manage some of
the advanced phone features, such as:
• setting up speed dial
• forwarding calls
Accessing Call Manager
The Call Manager for your phone
is accessed through your personal
account on the MyConcordia Portal
at http://www.myconcordia.ca. For
information about using the Portal,
see the downloadable user guide at
http://web2.concordia.ca/portal/help/
myconcordia.pdf.
When you have accessed your personal
portal page, click [CONFIGURE MY
PHONE].
Select a device
If you have multiple phone sets, you
must select the one you wish to
configure from the drop-down menu on
the main menu page.
Change your PIN
Click [CHANGE YOUR PIN] on the
main menu. Enter 12345 as the current
PIN, and select a new personal PIN
consisting of 7-20 digits.
Your new PIN will be required to
subscribe to additional services as they
become available.
Call forward
1. On the main menu, click [FORWARD
ALL CALLS TO A DIFFERENT
NUMBER]
2. Check box of phone extension you
wish to forward
3. Select either voice mail (you must
have voice mail to use this option!)
or this number (and enter the
phone number where you want your
calls to go)
4. Click [UPDATE]
5. To stop call forwarding, clear the
check box of the extension that
is being forwarded, and click
[UPDATE]
| CISCO IP PHONE 7910 SERIES | Instructional & Information Technology Services |
Configure speed dial
1. On the main menu, click [ADD
UPDATE YOUR SPEED DIALS]
2. The next screen will display the
number of speed dials options
available for your phone. You may
see boxes labelled SPEED 1 and
SPEED 2, or you may see fewer,
depending on your service
3. Enter a phone number in each
available text box. Remember to
affix a beginning '9' to all external
numbers.
4. Click [UPDATE]
Change the ring setting
1. On the main menu, click [CHANGE
THE RING SETTINGS FOR YOUR
PHONE]
2. From the drop-down menus, select
how you would like each line on your
phone to ring When Phone is Idle
and When Phone is In Use
3. Click [UPDATE]
Select a user locale profile (language)
The User Locale determines the
language on the phone's display and on
the Web site. To change the language
option:
1. Select the language of your choice
from the drop-down menu
2. Click [UPDATE]
For more information visit the
VoIP website at:
http://voip.concordia.ca
.
