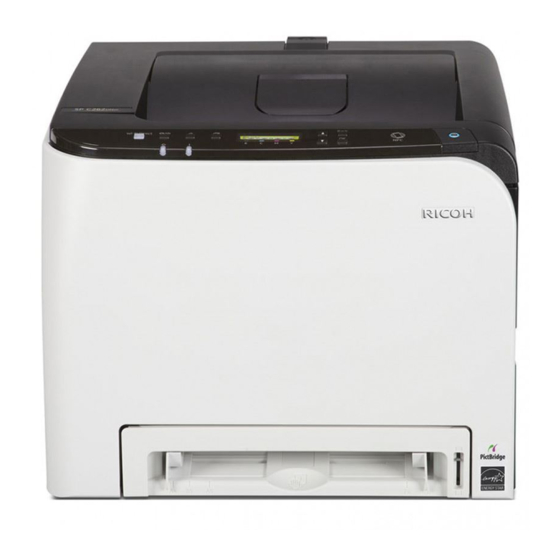
Ricoh SP C261DNW Setup Manual - Page 10
Browse online or download pdf Setup Manual for Printer Ricoh SP C261DNW. Ricoh SP C261DNW 16 pages.

- 1. Setup Guide
- 2. Setting up the Machine
- 3. Installing the Software
- 4. Check How the Computer Is Connected
- 5. Use the Machine from a Smart Device
- 6. Connecting the Machine (Usb/Network)
- 7. Connecting the Machine Via Wi-Fi
- 8. Easy Setup Using the CD-ROM
- 9. Easy Setup Using the WPS Button
- 10. Easy Setup Using a PIN Code
- 11. Control Panel Sheet
Connecting to devices using the WPA2-PSK or
Mix Mode WPA2/WPA authentication
17. Enter the encryption key using the [ ] or [ ] key, and then
press the [OK] key.
As the passphrase, you can enter either 8 to 63 ASCII
characters (0x20-0x7e) or 64 hexadecimal digits (0-9, A-F, a-f).
• To go to the next characters, press the [OK] key.
• Press the [Escape] key to clear all characters.
For details about checking the encryption key, see "Checking the
SSID and Encryption key".
18. Press the [OK] key.
After connecting to the network, the Wi-Fi screen is displayed.
19. Press the [ ] or [ ] key to select [Wi-Fi Status], and then
press the [OK] key.
When "Connected" is displayed, the connection has been
established.
• When "Connecting" is displayed, the connection is being established.
• When "Disconnected" is displayed, the connection has not been
established. Start again from the beginning.
8
Connecting to the devices using the Open
System or Shared Key authentication
17. Press the [ ] or [ ] key to select the encryption method,
and then press the [OK] key.
The maximum number of characters that can be entered in the
encryption key field depends on the encryption method settings.
Do not select [None] except in special cirmunstances. If
selected, the security system will not work.
18. Enter the encryption key using the [ ] or [ ] key, and then
press the [OK] key.
• To go to the next characters, press the [OK] key.
• Press the [Back] key to clear all characters.
For details about checking the encryption key, see "Checking the
SSID and Encryption key".
19. Enter the ID using the [ ] or [ ] key, and then press the
[OK] key.
The ID is used for identifying the encryption key. You can
register four encryption keys (ID 1 to 4).
20. Press the [OK] key.
After connecting to the network, the Wi-Fi screen is displayed.
21. Press the [ ] or [ ] key to select [Wi-Fi Status], and then
press the [OK] key..
When "Connected" is displayed, the connection has been
established.
• When "Connecting" is displayed, the connection is being established.
• When "Disconnected" is displayed, the connection has not been
established. Start again from the beginning.
