Cisco Unified 8961 Quick Manual - Page 6

Browse online or download pdf Quick Manual for IP Phone Cisco Unified 8961. Cisco Unified 8961 10 pages. Cisco systems telephone
Also for Cisco Unified 8961: Release Notes (16 pages), Overview (30 pages), Setup Manual (4 pages), Administration Manual (8 pages), User Manual (48 pages), User Manual (10 pages), Features (35 pages), Quick Start (2 pages), User Manual (22 pages), Setup (4 pages), Quick Start Manual (2 pages), Quick Reference Manual (3 pages), Manual (12 pages), Quick Reference (4 pages), Quick Glance (3 pages), Quick Start Manual (2 pages), (Portuguese) Quick Start Manual (2 pages)
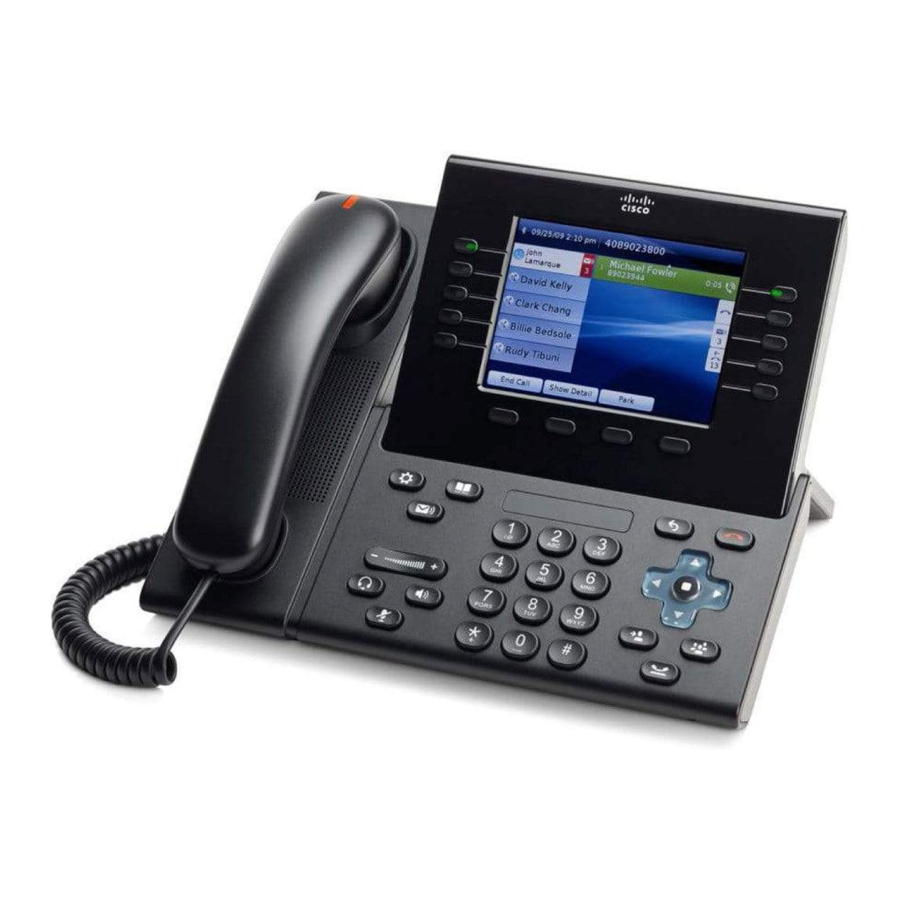
Cisco Unified 8961 Quick Manual
Directory
1. Press the contacts key
to choose a directory.
2. Enter your search criteria and press the Submit
softkey
.
3. Select the desired search result and press the Dial
softkey
.
Run the Cisco Unifi ed CM- User Options application to administrate
your personal address book (see p. 15).
To do this select "User Options" and then "Personal Address Book",
here you can edit your contacts.

Voice-mail

New messages are displayed as follows:
A red LED on the receiver.
A message waiting symbol
next to a session key.
A message waiting symbol
next to the session information
window; in the case of an active forwarded call with this
symbol
.
8
Accessing the voice-mail system
1. Press the messages key
or the session key
the voice-mail symbol.
2. Enter your PIN followed by #. If you enter the wrong PIN code you
will be requested to enter your ID (extension number) before
you are able to enter your PIN again!
Listen to messages
Press
to listen to new messages
or
Press
to listen to saved messages. Nummern!
You can also change playback speed of your messages using
the
and
buttons respectively.
After Listening
You can
replay message. Press
.
or
save message. Press
.
or
delete message. Press
.
or
reply to message. Press
.
or
forward message. Press
.
or
mark message as new. Press
.
or
rewind 5 seconds of message Press
.
or
fi nd out sender's name and extension as well as time and date
received. Press
.
next to
9