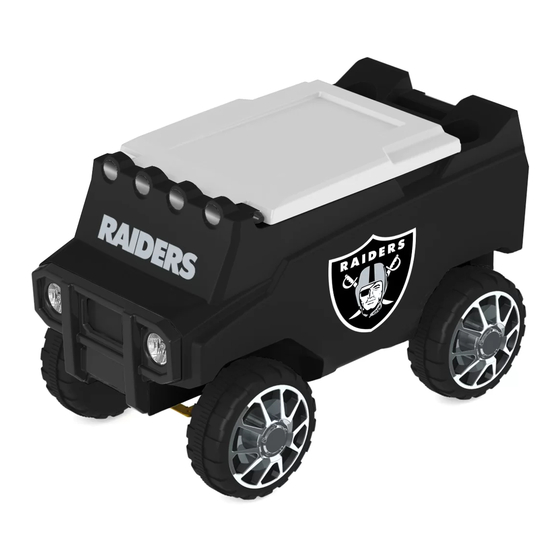
C3 Custom Coolers ROVER Quick Start Manuals - Page 2
Browse online or download pdf Quick Start Manuals for Remote Control C3 Custom Coolers ROVER. C3 Custom Coolers ROVER 2 pages. Remote control cooler
Also for C3 Custom Coolers ROVER: Owner's Manual (16 pages)
Parts
(6)
(1)
Washers
Lock nut
(1) Front axle assembly
(6) Cotter
(1) Rear axle rod
(1) Bolt
pins
Assembly
Attaching Wheels
Tools required: Phillips head screwdriver, wrench or needle nose pliers
Assembly time: 10 minutes
Step 1
.
Insert front axle assembly as shown
Insert (1) cotter pin in both bottom
ends of front axle assembly.
Using needle nose pliers, bend back
longer end of cotter pin to secure.
Step 2
Insert steering rod into gear
box.
Using a Phillips head
screwdriver and wrench,
secure steering rod in place
with bolt and lock nut.
Step 3
Place a washer on left
front axle, then wheel, then
another washer.
wheel faces out as shown.
Insert (1) cotter pin through
axle to secure wheels.
Using needle nose pliers,
bend back longer end of
cotter pin to secure.
Repeat for right front axle.
(1) Front
(4)
(4)
steering rod
Wheels
Hubcaps
insert pin &
bend back
Step 4
Line up notches on hubcaps
with notches on wheels.
Gently press hubcaps to
snap into place.
Step 5
Place cooler body upside down
on a non-abrasive, clean surface.
place, slide rear axle through
gear boxes.
Remove rubber band from
rear gear box assembly.
Step 6
Place a wheel on left rear axle,
then a washer.
wheel faces out as shown and
Insert (1) cotter pin through the
axle to secure wheels.
Using needle nose pliers, bend
back longer end of cotter pin to
secure.
Repeat for right rear axle.
Step 7
Line up notches on hubcaps with
notches on wheels.
Gently press hubcaps to snap
into place.
Step 8
Pair cooler remote.
Refer to back page.
Step 9
Charge battery for 12 hours.
remove rubber
band
insert pin &
bend back