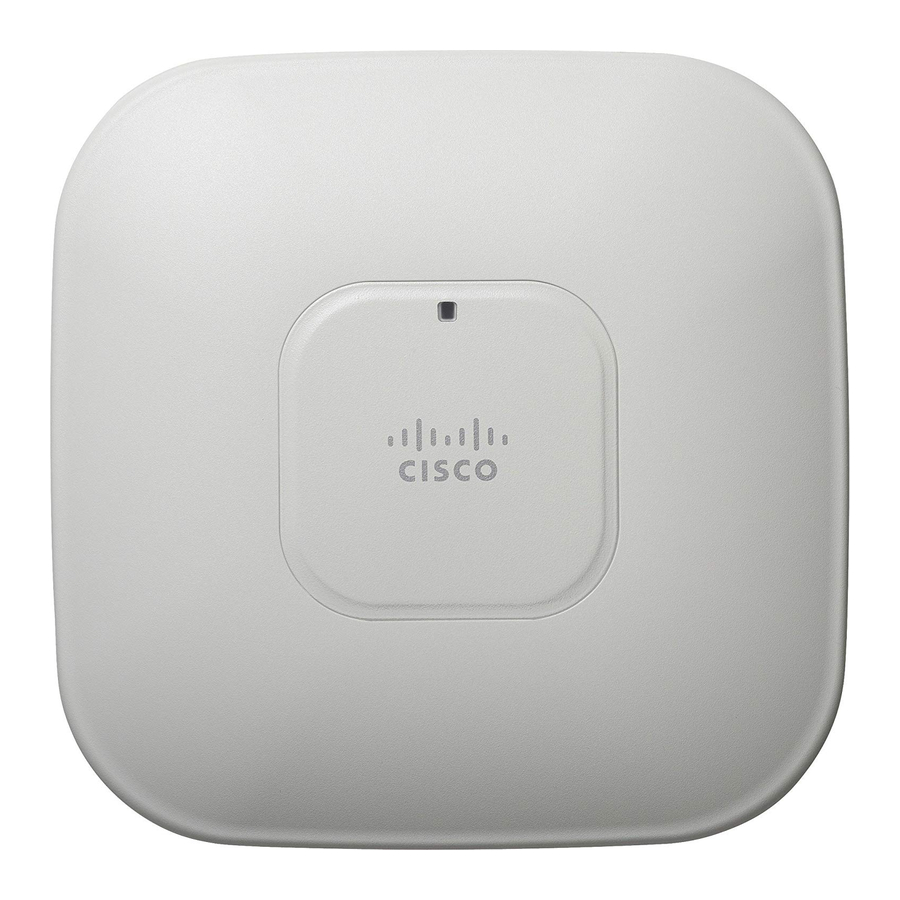
Cisco AIR-AP1142N-E-K9 Getting Started Manual - Page 7
Browse online or download pdf Getting Started Manual for Wireless Access Point Cisco AIR-AP1142N-E-K9. Cisco AIR-AP1142N-E-K9 37 pages. Autonomous access point

Provide your organization's network administrator with your access point MAC address.
–
Your network administrator will query the DHCP server using the MAC address to identify
the IP address. The MAC address is on a label attached to the bottom of the access point.
Use the CLI and serial port to identify the assigned IP address.
–
Connecting to the Access Point Locally
If you need to configure the access point locally (without connecting it to a wired LAN), you can
connect a PC to its console port by using a DB-9 to RJ-45 serial cable.
Be careful when handling the access point, the bottom plate might be hot.
Caution
Follow these steps to open the CLI by connecting to the access point console port:
Connect a nine-pin, female DB-9 to RJ-45 serial cable to the RJ-45 console port on the access
Step 1
point and to the COM port on a computer.
The Cisco part number for the serial cable is AIR-CONCAB1200.
Note
Set up a terminal emulator on your PC to communicate with the access point. Use the
Step 2
following settings for the terminal emulator connection: 9600 baud, 8 data bits, no parity, 1
stop bit, and no flow control.
Assigning the IP Address to the BVI
When you assign an IP address to the access point by using the CLI, you must assign the address to
the bridge-group virtual interface (BVI). Beginning in a privileged EXEC mode, follow these steps to
assign an IP address to the access point BVI using the access point console port.
Command
Step 1
configure terminal
Purpose
Enter global configuration mode.
7
