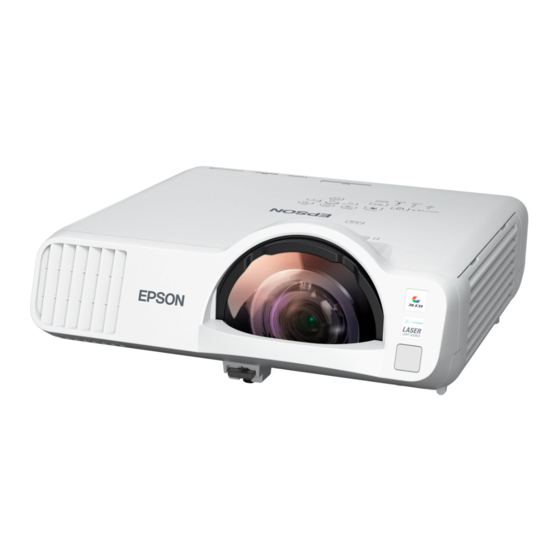
Epson V11H993020 Quick Setup - Page 3
Browse online or download pdf Quick Setup for Projector Epson V11H993020. Epson V11H993020 4 pages.

5
Select Network Settings and press
6
Select Wireless LAN as the Priority Control Interface setting.
7
Select one of the following as the Simple AP setting:
•
On for a direct connection to a computer, tablet, or smartphone.
•
Off to connect your projector to a router or access point.
Note: If you directly connect to the projector, you can only project locally
stored content.
8
Select any other wireless settings as necessary. See the online User's Guide
for details.
9
When you are finished, return to the Network Settings menu and select
Set to apply your settings.
Wired network
configuration
Follow these steps to set up your projector for a wired network connection.
1
Press the Menu button on the remote control, select the Network menu,
then press
.
2
Choose Network Settings and press
3
Select Wired LAN as the Priority Control Interface setting.
4
Select the Wired LAN menu and press
5
Choose IP Settings and press
6
If your network assigns addresses automatically, make sure the DHCP
setting is on. If not, make sure DHCP is off and enter the projector's IP
Address, Subnet Mask, and Gateway Address, as needed. Then press
Esc.
7
To prevent the IP address from appearing on the network standby screen,
set the IP Address Display setting to Off.
8
When you are finished, return to the Network Settings menu and select
Set to apply your settings.
9
Press the Menu button to exit the menu system.
Install the optional
software
Download the Epson iProjection™ software and manual from your product's
support page (see "Where to get help") and install the program on each
computer that will project over the network.
To monitor and control your projector over the network, download and
install the Epson Projector Management software (Windows only) and manual
from your product's support page (see "Where to get help").
.
.
.
.
Project over a network
If you need to configure the projector for a wired network, see "Wired network
configuration".
1
Press the LAN button on the remote control. You see this screen:
2
Start Epson iProjection on your computer.
Windows 10: Select
> EPSON Projector > Epson iProjection
Ver X.XX.
Windows 8.x: Navigate to the Apps screen and select Epson
iProjection Ver. X.XX.
Windows 7: Select
or Start > Programs or All Programs > EPSON
Projector > Epson iProjection > Epson iProjection Ver X.XX.
macOS: Double-click the Epson iProjection icon in the Applications
folder.
3
Select Advanced Connection Mode and click OK.
4
Select the projector you want to connect to, then click Join.
If you don't see the projector you want, click the Automatic search
button to find the projector automatically, click the Manual search
button to enter the projector's IP address, or click the Profile button
to find the projector based on a previously saved profile.
5
If you see a message asking for a keyword, enter the four digits that
appear on the LAN standby screen and click OK.
Your computer image is projected, with a floating toolbar:
When you're done presenting, click Disconnect All on the toolbar.
Using the Epson iProjection
app
You can project wirelessly from a mobile device (iOS, Android™, or
Chromebook™) using the Epson iProjection app and a QR code.
1
Use the following QR code to download and install the Epson
iProjection app.
2
If you connected the projector to a network wirelessly, make sure to
connect your mobile device to the same network.
3
Press the LAN button on the remote control to display a QR code on the
projector screen.
