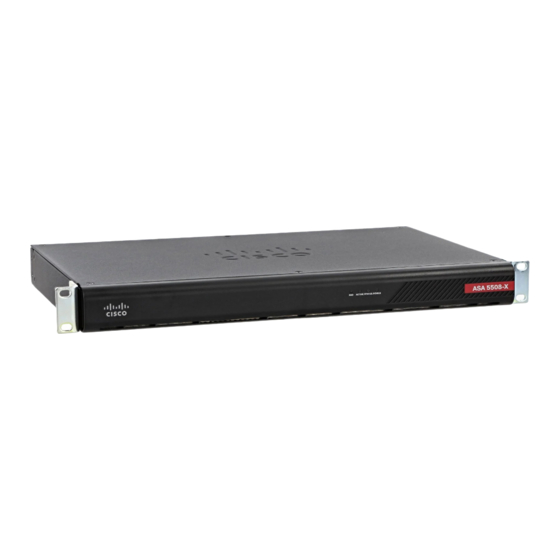
Cisco ASA 5508-X Quick Start Manual - Page 4
Browse online or download pdf Quick Start Manual for Wireless Access Point Cisco ASA 5508-X. Cisco ASA 5508-X 8 pages. Threat defense reimage guide
Also for Cisco ASA 5508-X: Hardware Installation Manual (32 pages), Easy Setup Manual (11 pages), Quick Start Manual (9 pages), Software Manual (37 pages), Mount And Connect (6 pages), Manual (14 pages)

Cisco ASA 5508-X and ASA 5516-X Quick Start Guide
—
GigabitEthernet 1/2 interface (inside)
—
Management 1/1 interface (for the ASA FirePOWER module)
—
Your computer
Note:
You can connect inside and management on the same network because the management interface acts
like a separate device that belongs only to the ASA FirePOWER module.
2.
Connect the GigabitEthernet 1/1 (outside) interface to your WAN device, for example, your cable modem.
Note:
If the cable modem supplies an outside IP address that is on 192.168.1.0/24, then you must change the
ASA configuration to use a different IP address. Interface IP addresses, HTTPS (ASDM) access, and DHCP
server settings can all be changed using the Startup Wizard. If you change the IP address to which you are
connected to ASDM, you will be disconnected when you finish the wizard. You must reconnect to the new IP
address.
4. Power On the ASA
1.
Attach the power cable to the ASA and connect it to an electrical outlet.
2.
Press the Power button on the back of the ASA.
3.
Check the Power LED on the front of the ASA; if it is solid green, the device is powered on.
4.
Check the Status LED on the front of the ASA; after it is solid green, the system has passed power-on
diagnostics.
5. Launch ASDM
See the
ASDM release notes
Note:
This procedure assumes you want to use ASDM to manage the ASA FirePOWER Module. If you want to use
the FireSIGHT System, then you need to connect to the module CLI and run the setup script; see the
FirePOWER quick start
Procedure
1.
On the computer connected to the ASA, launch a web browser.
2.
In the Address field, enter the following URL: https://192.168.1.1/admin. The Cisco ASDM web page
appears.
3.
Click one of the available options: Install ASDM Launcher, Run ASDM, or Run Startup Wizard.
4.
Follow the onscreen instructions to launch ASDM according to the option you chose. The Cisco ASDM-IDM
Launcher appears.
If you click Install ASDM Launcher, in some cases you need to install an identity certificate for the ASA and a
separate certificate for the ASA FirePOWER module according to
5.
Leave the username and password fields empty, and click OK. The main ASDM window appears.
6.
If you are prompted to provide the IP address of the installed ASA FirePOWER module, cancel out of the dialog
box. You must first set the module IP address to the correct IP address using the Startup Wizard.
on Cisco.com for the requirements to run ASDM.
guide.
4. Power On the ASA
Install an Identity Certificate for
ASA
ASDM.
4
