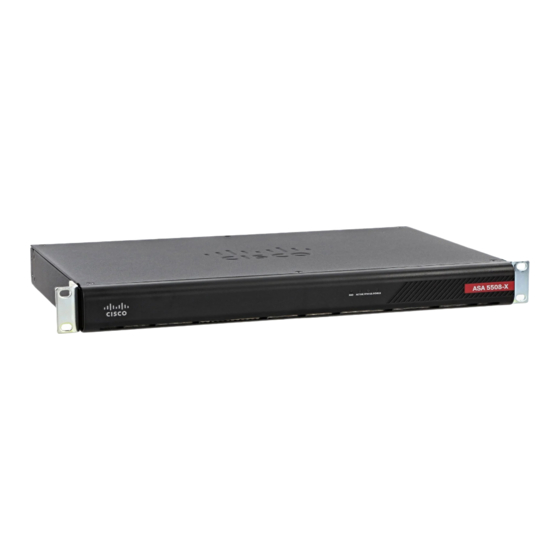
Cisco ASA 5516-X Quick Start Manual - Page 3
Browse online or download pdf Quick Start Manual for Wireless Access Point Cisco ASA 5516-X. Cisco ASA 5516-X 9 pages. Threat defense reimage guide
Also for Cisco ASA 5516-X: Hardware Installation Manual (32 pages), Quick Start Manual (8 pages), Easy Setup Manual (11 pages), Software Manual (37 pages), Mount And Connect (6 pages), Manual (14 pages)

Cisco Firepower Threat Defense for the ASA 5508-X and ASA 5516-X Using Firepower Management Center Quick Start Guide
4. Deploy the Firepower Threat Defense in Your Network
The following figure shows the recommended network deployment for Firepower Threat Defense on the ASA
5508-X or ASA 5516-X.
Management
Computer
192.168.45.2
Firepower
Management Center
192.168.45.44
Note:
You must use a separate inside switch in your deployment.
The example configuration enables the above network deployment with the following behavior.
inside --> outside traffic flow
outside IP address from DHCP
DHCP for clients on inside.
Management 1/1 is used to set up and register the Firepower Threat Defense device to the Firepower
Management Center.
The Management interface requires Internet access for updates. When you put Management on the same
network as an inside interface, you can deploy the Firepower Threat Defense device with only a switch on the
inside and point to the inside interface as its gateway.
The physical management interface is shared between the Management logical interface and the Diagnostic
logical interface; see the Interfaces for Firepower Threat Defense chapter of the Firepower Management
Center Configuration Guide.
Firepower Management Center access on the inside interface
Note:
If you want to deploy a separate router on the inside network, then you can route between management
and inside; see the Interfaces for Firepower Threat Defense chapter of the Firepower Management Center
Configuration Guide for examples of alternate deployment configurations.
To cable the above scenario on the ASA 5508-X or ASA 5516-X, see the following illustration.
Note:
The following illustration shows a simple topology using a Layer 2 switch. Other topologies can be used and
your deployment will vary depending on your basic logical network connectivity, ports, addressing, and
configuration requirements.
Management Gateway
Layer 2
Switch
GigabitEthernet 1/2
192.168.45.1
Management
Management 1/1
IP Address:
192.168.45.45
4. Deploy the Firepower Threat Defense in Your Network
Firepower
Threat Defense
inside
outside
GigabitEthernet 1/1
3
Internet
