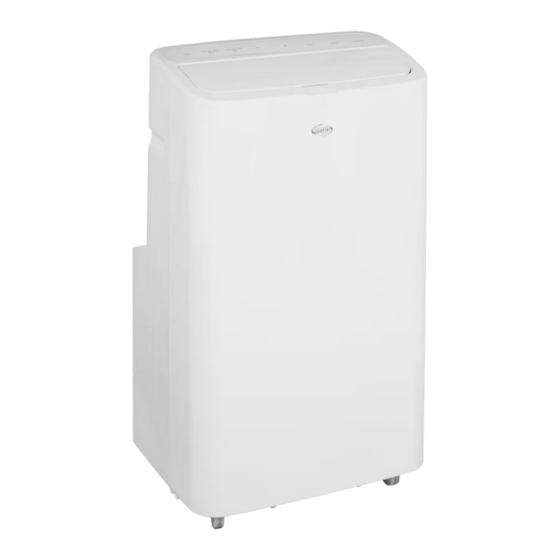
Argo EVAN PLUS Operating Instructions Manual - Page 13
Browse online or download pdf Operating Instructions Manual for Air Conditioner Argo EVAN PLUS. Argo EVAN PLUS 20 pages. Local

(3) FAN SPEED ADJUSTMENT BUTTON
Press this button when the appliance is switched on for adjusting the ventilation speed in cooling or heating mode High ->
Medium (Med) -> Low
The fan speed cannot be adjusted in DRY mode and is fixed to low speed.
(4)(6) BUTTONS + - FOR TEMPERATURE AND TIMER ADJUSTMENT
The temperature can be adjusted to between 16 °C and 31 °C.
Increase temperature(+):
1) Allows for adjusting the desired temperature in cooling (COOL) mode.
+
2)Whenever the(
) button is pressed, the set temperature increases by 1 °C.
-
Decrease temperature (
1) Allows for adjusting the desired temperature in cooling (COOL) mode.
- )
2)Whenever the (
button is pressed, the set temperature decreases by 1 °C.
The same button allows for setting the TIMER. In dehumidification and ventilation mode it is not possible to adjust the
temperature but it is possible to set the Timer.
By keeping the + - keys pressed at the same time, it is possible to switch from the temperature in ° C to ° F.
(7) TIMER BUTTON (on both the remote control and unit)
Press and hold this button for 1 second to set the timer.
1)Timer-on (automatic switch-on)
When the appliance is off, this button is used to set a delay after which the unit will switch on.
Remote control: press "TIMER" to set a time to turn on the air conditioner. Press +/- to set the time, and press "TIMER"
again to confirm it. The "HR" icon will remain on to indicate that the TIMER has been set.
Unit: Press TIMER. Press Timer again to select a number of hours from 1 to 24. Press the TIMER button to confirm.
2)Timer-off (automatic switch-off)
When the appliance is running in the COOL mode, set a delay after which the unit will switch off.
Remote control: press "TIMER" to set a time to turn on the air conditioner. Press +/- to set the time, and press "TIMER"
again to confirm it.. The "HR" icon will remain lit to indicate that the switch-off TIMER is running.
Unit: Press TIMER. Press Timer again to select a number of hours from 1 to 24. Press the TIMER button to confirm.
Resetting the timer: If a TIMER has been set, press TIMER to display the delay. Press TIMER again to cancel the setting.
(8) SLEEP BUTTON (on both the remote control and unit)
In Cooling / Heating mode, press the + and FAN buttons to activate this function.
Press this button to reduce to minimum the ventilation, for the most silence.
Note: The sleep mode cannot be started in ventilation and dehumidification mode.
(9) "SWING" BUTTON
Press this button to turn the flap vertical swing on or off. Press this button again to fix the flap in the desired position.
TEMPERATURE AND ERROR DISPLAY
In the event of a malfunction, the LED display shows an error code, which facilitates the solution of the problem. With the
exception of the FL message, full tank, when an error occurs do not attempt to repair the air conditioner, always take it to
an
Argoclima
Service Center.
Problem
FL
Tank full of water.
E1
Room temperature sensor failure.
E2
Failure of temperature sensor on the
evaporator.
The temperature and error display lights up only in COOL modes. It does not light up in DRY and FAN modes
SAFETY FUNCTIONS
FROST PROTECTION FUNCTION
In cooling, dehumidification or energy saving mode, if the temperature of the exhaust pipe is too low, the unit automatically
enters protection mode to avoid the formation of ice inside the product. When the tube temperature returns to a certain
temperature, normal operation is restored.
COMPRESSOR PROTECTION
It takes 3 minutes before it starts when the unit is turned off, it can not be restarted before 3 minutes have elapsed since
the previous stop.
FULL WATER TANK ALARM
When the water level in the tank exceeds the maximum, the appliance automatically emits an audible signal, the "FL" LED
flashes on the control panel display. It is therefore necessary to empty the water tank.
V 01/22
):
Cause
Empty the tank.
If the problem persists, contact a service centre.
Contact a service centre.
Contact a service centre.
Solution
32
