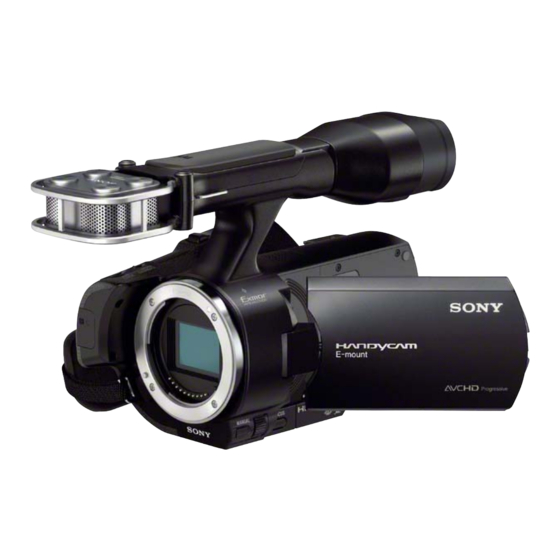
Sony NEX-VG30H Service Manual - Page 8
Browse online or download pdf Service Manual for Digital Camera Sony NEX-VG30H. Sony NEX-VG30H 32 pages. Interchangeable lens digital hd video camera recorder
Also for Sony NEX-VG30H: Limited Warranty (1 pages), Specifications (4 pages)

Self-diagnosis Code
Symptom/State
Block
Detailed
Function
Code
Zoom operations fault
*
E
6
1
1
0
(Cannot initialize zoom lens.)
The abnormalities in initialization of the focus
E
6
1
1
1
*
lens and the abnormalities in initialization of
the zoom lens occurred simultaneously.
Reset position detection error on the stepper
E
6
1
3
0
iris initializing
Handshake correction function does not work
*
E
6
2
0
0
well. (With PITCH angular velocity sensor
output stopped.)
Handshake correction function does not work
*
E
6
2
0
1
well. (With YAW angular velocity sensor
output stopped.)
*
E
6
2
0
2
Abnormality of IC for steadyshot.
IC for steadyshot and micro controller com-
*
E
6
2
0
3
munication abnormality among.
Image vibration correction during handshake
*
E
6
2
0
4
function does not work.
*
E
6
2
1
0
Shift lens initializing failure.
E
6
2
1
1
Shift lens overheating (Pitch)
E
6
2
1
2
Shift lens overheating (Yaw)
E
6
2
2
0
Abnormality of thermistor.
E
6
2
3
0
Abnormality of main CPU.
E
9
1
0
1
*
Abnormality when flash is being charged.
E
9
1
0
2
*
Abnormality of flash unit.
Abnormality of flash unit Temperature
E
9
1
0
3
*
detection.
Battery current value goes over the max
E
9
2
0
1
discharge current
Fault of writing or erasing or back up the
E
9
4
0
0
flash memory
E
9
4
0
1
*
Internal flash memory fault
E
9
4
0
2
BGM data error
E
9
5
0
0
*
GPS hardware error
E
9
6
0
0
Map area mount error
*
E
9
7
0
0
Projector hardware error
*
NEX-VG30/VG30E/VG30EH/VG30H_L2
Correction
Turn power off and turn power on again.
Turn power off and turn power on again.
Refer to "1-7. METHOD OF COPING WITH LENS ERROR".
Turn power off and turn power on again.
Turn power off and turn power on again.
Turn power off and turn power on again.
Turn power off and turn power on again.
Turn power off and turn power on again.
Turn power off and turn power on again.
Refer to "1-7. METHOD OF COPING WITH LENS ERROR".
Refer to "1-7. METHOD OF COPING WITH LENS ERROR".
Refer to "1-7. METHOD OF COPING WITH LENS ERROR".
Turn power off and turn power on again.
Turn power off and turn power on again.
Turn power off and turn power on again.
Turn power off and turn power on again.
Check the remaining battery power because this symptom maybe
depended on the remaining battery level, and confirm whether or
not the symptom is occurred after replacing the battery. If the symp-
tom is still occurred, overhaul inspection is needed. Check each
output of DC/DC converter on IC4301 of VC-1011 board with the
AC adaptor connected DC JACK (J901).
(The minimum connection to periphery)
Check the OneNAND of CPU (IC1301 on the VC-1011 board).
Turn power off and turn power on again.
Check the CPU (IC1301 on the VC-1011 board).
Turn power off and turn power on again.
Turn power off and turn power on again.
Turn power off and turn power on again.
1-7. METHOD OF COPING WITH LENS ERROR
When lens error is occurred, check the following items.
Lens error codes:
・ E: 61: 30 (Reset position detection error on the stepper iris initializing)
・ E: 62: 11 (Shift lens overheating (Pitch))
・ E: 62: 12 (Shift lens overheating (Yaw))
・ E: 62: 20 (Abnormality of thermistor)
Check items:
1. Replace the lens.
2. Replace the VC-1011 board or IC1301 on the VC-1011 board.
3. Check that the square wave is appeared below points.
・ BODY_VD_LENS (pin 7 of CN5201 or pin 6 of IC5201 on the MT-1003 board)
・ BODY_DATA_LENS (pin 3 of CN5201 or pin 4 of IC5203 on the MT-1003 board)
・ LENS_DATA_BODY (pin 4 of CN5201 or pin 5 of IC5202 on the MT-1003 board)
1-4
– ENGLISH –
