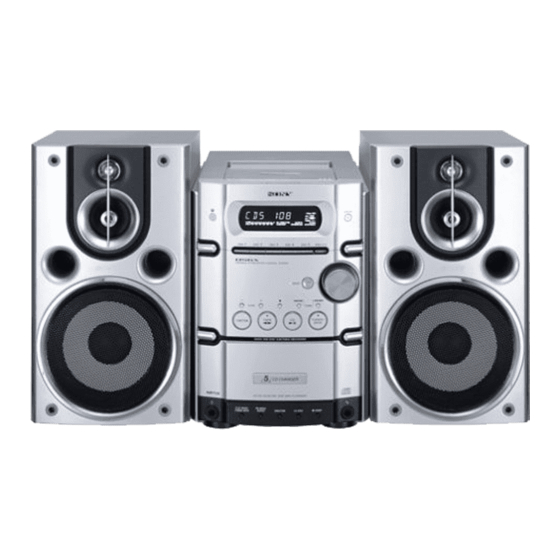
Sony CMT-HPX10W - Micro Hi Fi Component System Operating Instructions Manual - Page 25
Browse online or download pdf Operating Instructions Manual for Stereo System Sony CMT-HPX10W - Micro Hi Fi Component System. Sony CMT-HPX10W - Micro Hi Fi Component System 36 pages. Sony cmt-hpx10w stereo systems: supplementary guide
Also for Sony CMT-HPX10W - Micro Hi Fi Component System: Specifications (2 pages), Supplementary Manual (2 pages)

Placing the transmitter
Placing it up off the floor, such as on a desk, is
recommended.
The transmitter has a signal reception area of 1
to 46 m. However, this distance may be reduced
depending on the surroundings and
environment, such as obstacles (wall, etc.).
Notes
• Do not place the transmitter on or near the following
objects. Doing so may cause noise.
– Main unit, TV, speaker, fluorescent lamp, floor.
– Radio waves generated such as cell phones and
cordless phone systems or metal instruments are
placed on the unit.
– Inside a building with walls containing steel
beams.
– Area with many steel file cabinets, etc.
– Area with many electrical appliances capable of
generating electromagnetic noise.
– Area facing roadways.
– Radio transceivers in trucks, etc.
– Wireless communication systems installed along
roadways.
• Even within the signal reception area, there are some
spots (dead spot) where the RF signal cannot be
received. This is a characteristic inherent to RF
signals, and does not indicate a malfunction. By
slightly moving the transmitter, the location of the
dead spot can be changed.
Listening to audio using a
wireless system
1
Start playing the connected
component.
2
Press FUNCTION repeatedly to switch
the function to WIRELESS.
3
Press +/– (or TUNING +/– on the unit).
"AUTO SCAN" appears.
If the system picks up some
noise or "AUTO SCAN" does not
disappear
• Reduce the distance between the transmitter
unit and the main unit.
• Select another channel using CHANNEL 1–3
on the transmitter, then press +/– (or
TUNING +/– on the unit). "AUTO SCAN"
appears.
Notes
• You may not hear the beginning of the sound from
the main unit until the transmitter starts sending the
RF signals after detecting an audio signal.
• If the transmitter is connected to the headphones jack
of the source component, set the volume of that
component as high as possible without distorting the
audio signal.
• If you hold the antenna of the transmitter with your
hand, noise may occur. However this is not a
malfunction.
• When the transmitter is not to be used for a long
period of time, disconnect the AC power adaptor
from the wall outlet holding the plug. Do not pull on
the cord.
GB
25
