Crow BS-1 Installation Instructions & User Manual - Page 2
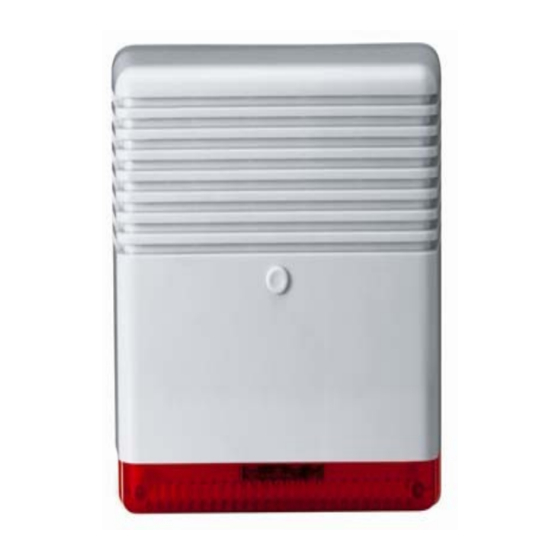
Browse online or download pdf Installation Instructions & User Manual for Security Sensors Crow BS-1. Crow BS-1 2 pages. High power siren with battery back-up and flashlight
3. Open the siren housing (1 screw on the front),fig
1 and remove the metal cover (2 screws),fig2.
4. Unplug the terminal(5) on the siren driver
5. Mount the siren housing on the wall.
6. Connect the wires to the terminals(5).
Important: Cut off the power before you
make the connections.
7. Plug the terminal to the drive board.
8. Power on the system and check that it
function properly.
9. Connect the Back-up battery.
Important: Keep attention to the polarity of
the Battery, a reverse polarity can cause
damage to the driver circuit.
10 .M o un t the me ta l co v er b y 2 s cr ews .
11.Close the housing by 1 screw.
Siren BS-1 Specification
Sound Pressure Level
Fundamental Frequency
Siren Tone
Frequency Range
Flash Light
Power Supply Voltage
Charge Current Limit
Current consumption (Speaker and Strobe).
Maximum Power
Trigger Level
Siren Alarm Period
Input Impedance (Alarm / Flash / Trigger)
Tamper Switch
Backup Battery
Low Battery Level
Material
Dimensions of unit
Weight (Without Battery)
Operating temperature range
Case Protection Level
Terminal Block Connection
Terminal 1 - Marked "FL-" Trigger for the flashlight.
Connect it to an output in the Alarm System, Active
while the input is low.
Terminals 2 - Marked "GO+" Trigger for the siren
and the flashlight, Active while the input is high.
Terminals 3 - Marked "GO-" Trigger for the siren
and the flashlight, Active while the input is low.
Terminal 4 - Marked "GND" Connect to ground of
the control unit.
Terminal 5 - Marked "+12V" Connect to a positive
Voltage output of 13.6 – 14.2Vdc source (usually
from the alarm control unit).
Terminals 6 & 7 - Marked " TAMPER " If a Tamper
function is required connect these Terminals to a 24-
hour normally closed protective zone in the control
unit. If the front cover of the siren is opened or siren
box is tearing from the wall, an immediate alarm
signal will be sent to the control unit.
128dB
1850 Hz
Yelp
1300 ~ 2400 Hz
Lamp 12Vdc / 5W
13.8 ~ 14.2 Vdc
250mA
Standby: 8mA
Alarm: 1600mA @ 13.8V DC
50W (Peak)
Trigger Low = Max. 1Vdc
Trigger High = Min. 9Vdc
F.T- Follow trigger
TMR - 3min.
1K Ohm
N.C 28 Vdc Maximum current 0.1 A - open when
cover is removed
Rechargeable Lead Acid Battery 12V up to 7.2Ah
8 Vdc +/- 0.3Vdc
External Box: ABS (3mm thick).
Internal Cover: Metal (0.8 mm thick).
L=270mm X W=193mm X H=100mm
1.85 Kg
-30 o C to +60 o C
· Water splash resistant
· Plastic PC with UV protection
· Conformal coated circuit board
-2-
A
B
Fig 1
Fig 2
Siren Includes:
1-Horn
4-Tamper
2-Lamp
5-Terminal Block
3-Battery
6-Connector
1
4
5
3
2
Fig 3
1
Lamp selector
2
Trigger selector
SIREN BS-1
6
-3-
Fig 4