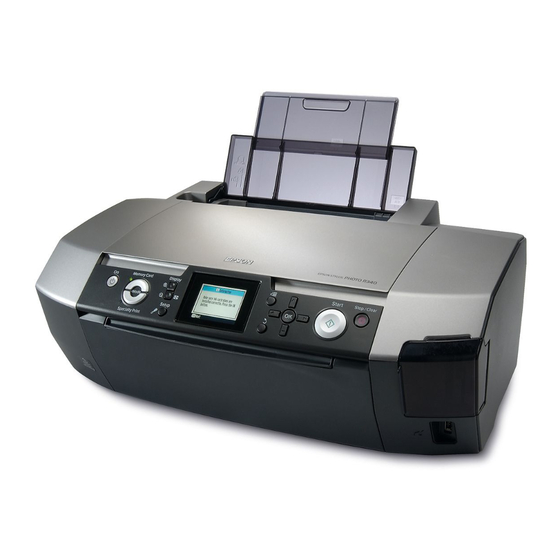
Epson R340 - Stylus Photo Color Inkjet Printer Basic Operation Manual - Page 26
Browse online or download pdf Basic Operation Manual for Printer Accessories Epson R340 - Stylus Photo Color Inkjet Printer. Epson R340 - Stylus Photo Color Inkjet Printer 40 pages. C11c607011
Also for Epson R340 - Stylus Photo Color Inkjet Printer: Specifications (2 pages), Manual (13 pages), Start Here Manual (9 pages), Quick Reference (4 pages), Instructional Manual (4 pages)

5.
Look at the alignment pattern in each set and find
the patch which is most evenly printed, with no
noticeable streaks or lines.
6.
Press the r button, then press the u or d button to
highlight the number for the best pattern (1 to 9)
in set #1, then press the OK button.
7.
Repeat step 6 to select the best pattern for sets #2,
#3, and #4.
8.
When you have finished, press the OK button.
Cleaning the Printer
To keep your printer working at its best, you should
clean it several times a year. Follow these steps:
1.
Turn off the printer, unplug the power cord, and
disconnect the printer cable.
2.
Remove all paper, then use a soft brush to clean
any dust or dirt from the sheet feeder.
3.
Clean the exterior of the printer with a soft, damp
cloth.
4.
Use a soft, dry cloth to clean the LCD panel. Do
not use liquid or chemical cleaners on the LCD
panel.
5.
If ink has spilled inside the printer, wipe it off only
in the area shown below using a soft, damp cloth.
Clean here
w
Warning:
Do not touch the gears inside the printer.
c
Caution:
❏ Be careful not to wipe away lubricating grease inside the printer.
❏ Never use a hard or abrasive brush, or alcohol or thinner for
cleaning; they can damage the printer components and case.
❏ Do not get water on the printer components and do not spray
lubricants or oils inside the printer.
❏ Do not apply grease to the metal parts under the print head
carriage.
26
Maintenance and Transporting
Transporting the Printer
If you move your printer some distance, you need to
prepare it for transportation in its original box or one
of a similar size.
c
Caution:
To avoid damage, always leave the ink cartridges installed when
transporting the printer.
1.
Turn on the printer, wait until the print head locks
in the far right position, then turn off the printer.
2.
Unplug the power cord from the electrical outlet.
Then disconnect the printer cable from the printer.
3.
Remove any memory cards from the printer and
close the memory card cover.
4.
Remove any paper from the printer, push down
the paper support extension, and close the paper
support.
5.
Open the printer cover. Secure the ink cartridge
holder to the printer with tape as shown, then
close the printer cover.
6.
Make sure the CD/DVD tray guide is closed, then
push in the output tray extension and close the
output tray.
7.
Repack the printer and its attachments in the
original box using the protective materials that
came with them.
Keep the printer level as you transport it. After
transporting the printer, remove the tape securing the
print head and test your printer. If you notice a decline
in print quality, clean the print head (see page 25); if
output is misaligned, align the print head (see
page 25).
Tape the ink
cartridge holder
to the printer case
