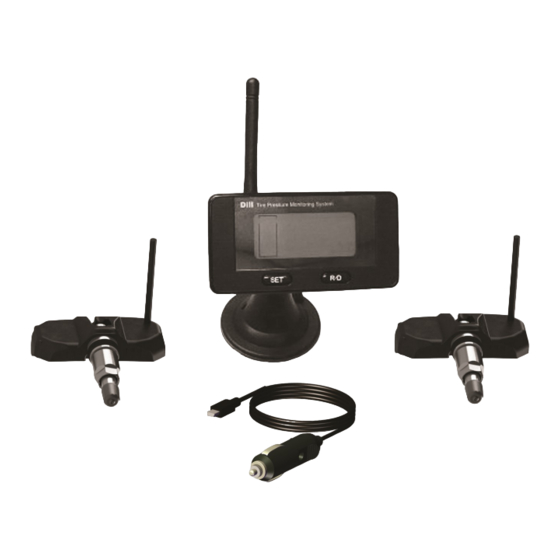
Dill 1502 Manual - Page 6
Browse online or download pdf Manual for Control Systems Dill 1502. Dill 1502 16 pages. Tpms trailer kit

2.0 Transmitter Installation
Before installation into the rim hole, you must assemble the transmitter and
valve stem together.
2.1 Unscrew the hex nut and remove the metal washer from the valve stem.
2.2 Place the valve stem onto the transmitter and use the lock washer &
screw to hold valve stem against the transmitter body.
2.3 Insert the valve stem through the rim hole and verify that the rubber grom
met is seated against the rim hole surface.
2.4 Adjust the angle of the transmitter body and verify the transmitter is
resting flat against the wheel rim surface.
2.5
Tighten the screw at 35 inch pounds into the valve stem at the same time
verify 3 conditions:
2.5.1 At least one of the transmitter's feet always contacts the rim surface.
2.5.2 The grommet is fully seated against the valve hole.
2.5.3 From the outside of the wheel, the valve stem is perpendicular to the
rim's valve hole.
2.6 Place the metal washer and hex nut on the valve stem and turn the hex
nut clockwise until the rubber grommet is pressed against the wheel rim
surface.
2.7
Tighten the hex nut 35 to 40 inch pounds of torque to secure the
valve stem to the rim. Verify at least one of the transmitter's feet has
direct contact on the wheel rim surface. If not, uninstall the
transmitter and redo it from 2.5.
2.8 Lock the wheel rim on the tire changer. Apply lubricant on both tire beads
and rim. Mount the lower tire bead on the rim. Ensure that the tire bead
does not touch the electronic module during mounting.
2.9 Mount the upper tire bead the same way and inflate the tire to standard
cold inflation pressure. Avoid damaging the antenna.
Transmitter
Note: The grommet, metal washer, hex nut and valve core must be replaced
at each tire change.
Note: DO NOT TIGHTEN THE SCREW.
Transmitter
Wheel
Mount
Head
6
FIGURE 4
Wheel
Mount
Head
