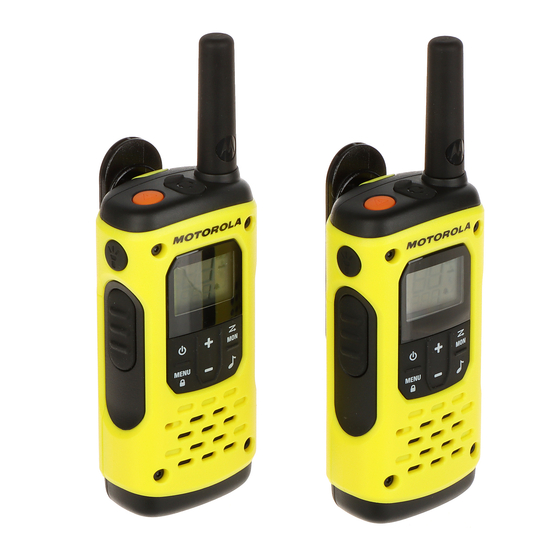
Motorola TLKR T92 H2O Owner's Manual - Page 4
Browse online or download pdf Owner's Manual for Two-Way Radio Motorola TLKR T92 H2O. Motorola TLKR T92 H2O 24 pages.

Display
1
2
3
4
5
6
1. Channel Indicator
2. Receive and Transmit
Indicator
3. Mute [when speaker
volume set as 0]
4. Dual Channel Monitor
[ON/OFF]
5. Scan Indicator
6. Key Lock Indicator
7. Battery Indicator [3
Battery Levels]
7
8
9
10
11
12
13
8. Keypad Tone [ON/OFF]
9. Silent Mode (Vibrate
Alert) [ON/OFF]
10. Roger Tone (ON/OFF)
11. Call Tone [1–20]
12. iVOX [OFF, L1, L2,
L3]; VOX [L1, L2, L3]
13. Interference Eliminator
Code [1–121]
Installing the Batteries
Each radio can either use a 1 NiMH rechargeable battery pack
or 3 units of AA Alkaline Battery, and beeps when the batteries
are low.
Installing the NiMH Rechargeable Battery Pack
1. Make sure your radio is turned OFF.
2. With the back of the radio facing you, loosen the retaining
screw on the battery door and open the cover.
3. Remove the NiMH battery pack from the clear plastic bag
(do not disassemble or unwrap the battery pack).
4. Insert the NiMH battery pack with the diagram facing you.
(The ribbon should be underneath the battery pack and
should wrap around the right side of the pack for easy
removal).
5. Close the battery cover and tighten the retaining screw on
the battery door.
Installing the Three AA Alkaline Batteries
1. Make sure your radio is turned OFF.
2. With the back of the radio facing you, lift the battery cover
latch up and remove the cover.
3. Insert the three AA Alkaline batteries with (+) and (-) polarity
as shown inside. (The ribbon should be underneath the AA
alkaline batteries and wrap around the right side of the
batteries).
Close the battery cover and tighten the retaining screw on
4.
the battery cover
.
Removing the Batteries
Removing the NiMH Battery Pack
1. Make sure your radio is turned OFF.
2. With the back of the radio facing you, loosen the retaining
screw on the battery door and open the cover.
3. Remove the NiMH battery pack by pulling the ribbon.
4. Close the battery cover and tighten the retaining screw on
the battery door.
3
