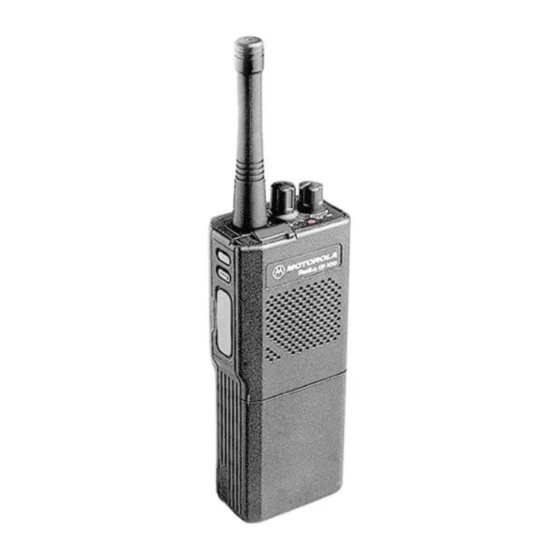
Motorola radius P110 Operating Instructions Manual - Page 38
Browse online or download pdf Operating Instructions Manual for Portable Radio Motorola radius P110. Motorola radius P110 39 pages.

Quick Reference Card
Battery Installation or Replacement
1. Turn off the radio and hold it with the back of
the radio facing up.
2. Disengage the battery latch on the bottom of
the radio by pushing and holding the latch
towards the front of the radio.
3. While holding the battery latch, slide the bat-
tery down from the top of the radio about 1/2
of an inch. Once the battery is free from the
control rails, lift it directly upward to remove.
4. To install a fresh battery, align the belt clip
end of the battery with the control rails on the
radio. Slide the battery toward the top of the
radio until it is fully engaged by the battery
latch
BATTERY
LATCH
Antenna Installation
Rotate the antenna clockwise until hand tight
into the antenna connector on the top of the
radio.
ON/OFF/VOLUME
ACCESSORY
LED INDICATOR
CONNECTOR
To Receive
1. Turn the radio on and rotate the CHANNEL
SELECTOR to the desired channel position.
2. Listen for a transmission or hold the CON-
TROL BUTTON to hear background noise
(when the CONTROL BUTTON has been
programmed for Volume Set). Adjust the
VOLUME CONTROL to a comfortable listen-
ing level.
3. To monitor a channel (disable PL/DPL) press
the side mounted CONTROL BUTTON
(when the CONTROL BUTTON has been
programmed for Monitor). The LED glows
yellow for 4 seconds to confirm that the
coded squelch is disabled. To reverse the
monitor status, press this button again.
CHANNEL
SELECTOR
CONTROL
CONTROL
BUTTON
PUSH-TO-TALK
BUTTON (PTT)
