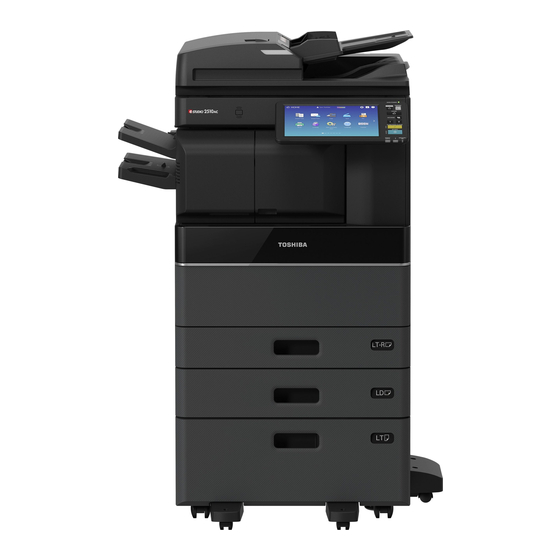
Toshiba e-STUDIO4518A Management Manual - Page 15
Browse online or download pdf Management Manual for All in One Printer Toshiba e-STUDIO4518A. Toshiba e-STUDIO4518A 32 pages. Sys board diagnosis tool
Also for Toshiba e-STUDIO4518A: Operator's Manual (32 pages), User Manual (20 pages)

Hold (Fax)
0.
In the high security mode, when an email to which a Fax, Internet Fax or image is received, it is not automatically
output. These jobs are stored in the [Hold (Fax)] queue and only a user having the [Fax Received Print] privilege can
print the job.
You can display the preview of the fax image received on the touch panel before printing the fax. For more details,
refer to the GD-1370 Fax Guide.
If a job is in the [Hold (Fax)] queue, the Memory Rx lamp blinks.
Printing a job in the Hold (Fax) queue
Log in to the equipment as a user having the [Fax Received Print] privilege.
1
Press [Print Mode] on the home menu screen.
2
Select [Hold (Fax)].
3
All jobs in the [Hold (Fax)] queue are displayed.
Select the desired job or [Select All], and then press [Print].
4
The job that has been output is deleted from the [Hold (Fax)] queue.
Hold (Fax) 15
