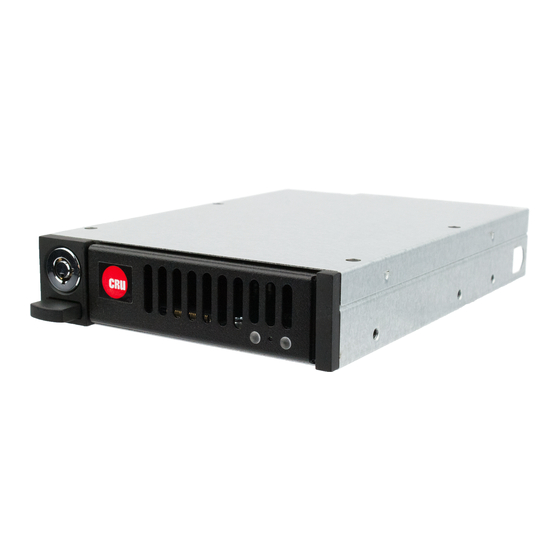
CRU QX310 v2 User Manual - Page 6
Browse online or download pdf User Manual for Enclosure CRU QX310 v2. CRU QX310 v2 12 pages.

6
QX310 v2 User Manual
2.2.2 U.2 SSD Installation
a. Use a Phillips screwdriver to remove two screws from the rear of the carrier. Then
remove the cover from the carrier.
b. Remove the protective covering from the thermal sensor located in the middle of the
carrier board.
c. Install your U.2 SSD using the provided screws.
d. Replace the carrier cover and refasten with the two screws you removed in Step A.
2.3 Windows Configuration
"Fast startup" must be disabled in Windows 10 and Windows 8.1 to ensure that drives inside
the QX310 are read properly. Here are the instructions for how to do so with Windows 10.
a.
Right click on the Start Button and select Power Options.
b.
Under Related Power Settings in the right column, select Additional power settings.
c.
On the left column of the new window, select Choose what the power buttons do.
d.
Select Change settings that are currently unavailable.
e.
Uncheck Turn on fast startup (recommended).
f.
Click the Save changes button.
