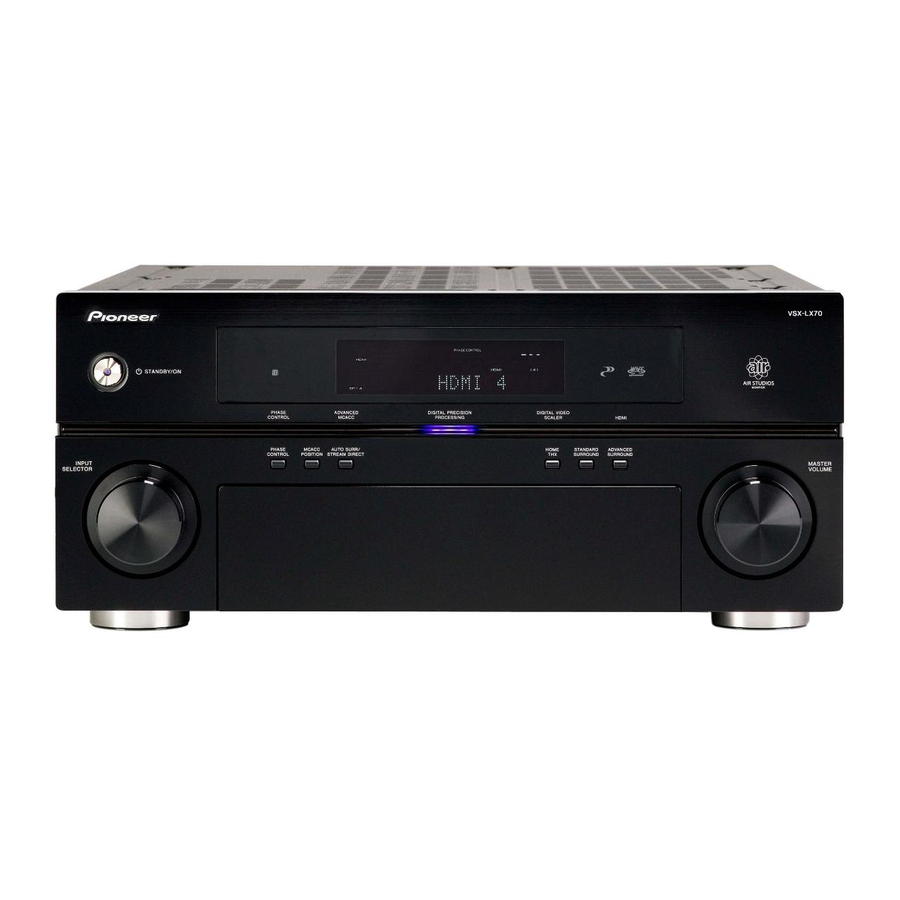
Pioneer VSX-LX70 Operating Instructions Manual - Page 10
Browse online or download pdf Operating Instructions Manual for Receiver Pioneer VSX-LX70. Pioneer VSX-LX70 50 pages. Audio/video multi-channel receiver
Also for Pioneer VSX-LX70: Catalog (20 pages)

04
Setup
Chapter 4:
Setup
Setting up the network
In case the router connected to the LAN terminal on this
receiver is a broadband router (with the built-in DHCP
server function), simply turn on the DHCP server
function, and you will not need to set up the network
manually. You must set up the network as described
below only when you have connected this receiver to a
server without the DHCP server function. Before you set
up the network, consult with your ISP or the network
manager for the required settings. It is advisory that you
also refer to the operation manual supplied with your
network component.
IP Address
The IP address to be entered must be defined within the
following ranges. If the IP address defined is beyond the
following ranges, you cannot play back audio files stored
on components on the network or listen to Internet radio
stations.
Class A: 10.0.0.1 to 10.255.255.254
Class B: 172.16.0.1 to 172.31.255.254
Class C: 192.168.0.1 to 192.168.255.254
Subnet Mask
In case an xDSL modem or a terminal adapter is directly
connected to this receiver, enter the subnet mask
provided by your ISP on paper. In most of the cases, enter
255.255.255.0.
Gateway IP
In case a gateway (router) is connected to this receiver,
enter the corresponding IP address.
DNS Server Preferred/DNS Server Alternate
In case there is only one DNS server address provided by
your ISP on paper, enter 'DNS Server Preferred'. In case
there are more than two DNS server addresses, enter
'DNS Server Alternate' in the other DNS server address
field.
Proxy Hostname/Proxy Port
This setting is required when you connect this receiver to
the Internet via a proxy server. Enter the IP address of
your proxy server in the 'Proxy Hostname' field. Also,
enter the port number of your proxy server in the 'Proxy
Port' field.
Note
1 In case you make changes to the network configuration without the DHCP server function, make the corresponding changes to the network settings of
this receiver.
10
En
1
Tip
• Press
or the numeric buttons to enter
alphanumeric characters. To delete alphanumeric
characters entered one at a time, press
CLEAR. 'Cancel Key Editing Lose Changes?'
appears when you press RETURN or
cursor is placed in the leftmost position on the
alphanumeric character entry screen. In this case,
press ENTER to exit from the screen and RETURN to
return to the screen.
DVD
TV
BD
TV CTRL
HOME MEDIA
ZONE2/3
DVR2
GALLERY
DVR1
i Pod
TUNER
RECEIVER
SLEEP
DIMMER
ANALOG
ATT
SR+
GENRE
D.ACCESS
CLASS
DISC
CLEAR
+10
CH
ENTER
LEVEL
A PARAMETER
V PARAMETER
TOP MENU
MENU T.EDIT
TUNE
BAND
ST
ST
ENTER
SETUP
SETUP
RETURN
RETURN
TUNE
PROGRAM
TV CONTROL
INPUT
1
Press HOME MEDIA GALLERY (press iPod while
you press and hold SHIFT ) to select HMG as the input
source.
It may take several seconds for this receiver to access the
network. The following screen appears when the Home
Media Gallery is selected as the input source.
H o me Me di a G
Top M e nu
Pr e
[
U S B
[ I n t e r n e t R a d i o
[ N e ur a l M us i c D i re c t
[ S e r v e r1
[ S e r v e r2
[ S e r v e r3
[ S e r v e r4
[ Favor i t e s
Nex t
2
Select ' Setup ' and press ENTER to confirm your
selection.
The ' Setup ' screen appears.
Ho me Me d ia G
- 5 5 . 0 dB
Ho me Me nu
P r e
0 0 9 / 0 0 9
[
Se tu p
[ US B
[ In t e r n e t R a d i o
[ Ne ur a l M u s i c D i re c t
[ Se r v e r1
[ Se r v e r2
[ Se r v e r3
[ Se r v e r4
Nex t
or
while the
INPUT
TV VOL
TV CH
VOL
SELECT
INFO
TV/DTV
REC
A
MUTE
MPX
REC STOP
JUKEBOX
B
C
D
E
AUDIO SUBTITLE
HDD
DVD
DISP
CH
CH
PHOTO
T.DISP
STEREO/
STATUS
STATUS
SIGNAL SEL
SBch
F.S.SURR
MULTI OPE
THX
STANDARD
ADV.SURR
SHIFT
PHASE
MCACC
S.DIRECT
RECEIVER
- 5 5 . 0 dB
0 0 1 / 0 0 9
]
]
]
]
]
]
]
]
Ho me Me d ia G
- 5 5 . 0 dB
Se tu p
]
[
I nfor m a t i o n
]
]
[ N e t wo rk Se t up
]
]
]
]
]
]
]
Re t u rn
