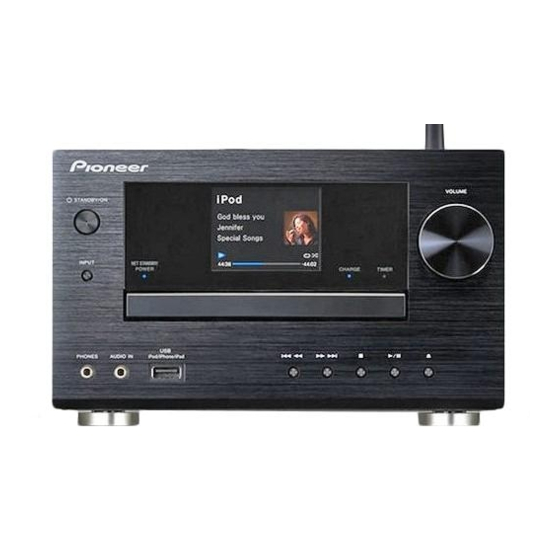
Pioneer X-HM81-S Operating Instructions Manual - Page 28
Browse online or download pdf Operating Instructions Manual for Receiver Pioneer X-HM81-S. Pioneer X-HM81-S 42 pages. Network cd receiver system
Also for Pioneer X-HM81-S: Quick Start Manual (33 pages)

9
9
Music server
This receiver can play audio files stored on PCs or other
components on a Local Area Network (LAN).
Introduction
This receiver allows you to listen to audio files on a computer
or other component connected to the receiver via LAN
interface. This chapter describes the setup and playback
procedures required to enjoy these features. It is advisory that
you also refer to the operation manual supplied with your
network component.
Note
•
Photo or video files cannot be played back.
•
With Windows Media Player 11 or Windows Media Player
12, you can even play back copyrighted audio files on this
receiver.
About playable DLNA network devices
This receiver allows you to play music on media servers
connected on an identical Local Area Network (LAN) as the
receiver. This receiver allows you to play files stored on the
following devices:
•
PCs running Microsoft Windows Vista or XP with Windows
Media Player 11 installed
•
PCs running Microsoft Windows 7 with Windows Media
Player 12 installed
•
DLNA-compatible digital media servers (on PCs or other
components)
Files stored in a PC or DMS (Digital Media Server) as
described above can be played via command from an external
Digital Media Controller (DMC). Devices controlled by this
DMC to play files are called DMRs (Digital Media Renderers).
This receiver supports this DMR function.
When this receiver is selected as a DMR and DMS playback is
begun, the receiver's input automatically switches to DMR.
During DMR input, the currently playing track name, artist
name, album name, and album art will appear on the
receiver's display (some information may not be displayed,
depending on the file being played).
When in the DMR mode, such operations as playing and
stopping files can be performed from the external controller.
Volume adjustment and the muting control are also possible.
28
Note
•
Depending on the external controller being used, playback
may be interrupted when the volume is adjusted from the
controller. In this case, adjust the volume from the receiver
or remote control.
Using AirPlay on iPod touch, iPhone, iPad and
iTunes
AirPlay works with iPhone, iPad, and iPod touch with iOS
4.3.3 or later, Mac with OS X Mountain Lion, and Mac and PC
with iTunes 10.2.2 or later.
To use AirPlay, select your receiver on your iPod touch,
iPhone, iPad or in iTunes and start playback. For more
information, see the Apple website (http://www.apple.com).
•
Adjustment of the receiver's volume from iPod touch,
iPhone, iPad or iTunes.
•
Pause/resume, next/previous track, and shuffle/repeat
from the remote control of the receiver. The display will not
show the Play Status, Repeat, or Shuffle icons.
•
Display of the currently playing track information on the
receiver's display, including artist, song/album name and
album artwork. It may not be displayed other than song
name.
Tip
•
A network environment is required to use AirPlay.
•
The receiver's name that shows up in the AirPlay UI on iPod
touch, iPhone, iPad and iTunes can be changed by
Friendly Name from Network Setting.
•
AirPlay provided on this receiver has been developed and
tested based on the software versions for the iPod touch,
iPhone, iPad and the software versions for iTunes that are
indicated on the Pioneer website. AirPlay may not be
compatible with iPod touch, iPhone, iPad or iTunes
software versions other than those indicated on the Pioneer
website.
About the DHCP server function
To play back audio files stored on components on the network,
you must turn on the DHCP server function of your router.
In case your router does not have the built-in DHCP server
function, it is necessary to set up the network manually.
Otherwise, you cannot play back audio files stored on
components on the network or listen to Internet radio
stations. See Network setting on page 24 for more on this.
Authorizing this receiver
This receiver must be authorized to enable playback. The
receiver is automatically authorized when it is connected to a
PC over a network. If not, please authorize this receiver
manually on the PC. The authorization (or permission)
method for access varies depending on the type of server
currently being connected. For more information on
authorizing this receiver, refer to the instruction manual of
your server.
Playing audio files stored on PCs or other
components
Connecting to the LAN network
Be sure to connect PC or other components to the network
using the LAN interface before you use this function.
For details on the connections, see page 10.
Playback with Music Server
Important
•
You cannot access a PC on a network while you are logged
onto a domain that is configured in a Windows network
environment. Instead of logging onto the domain, log onto
the local machine.
•
There are cases where the time elapsed may not be
correctly displayed.
1
Press NETWORK repeatedly to select Music Server.
All available servers are shown on the display. "Please
wait" will be displayed until an available server is found.
2
Use / to select the server that the file you want to
play is stored on, then press ENTER.
The folders/files stored on the server are shown on the
display.
