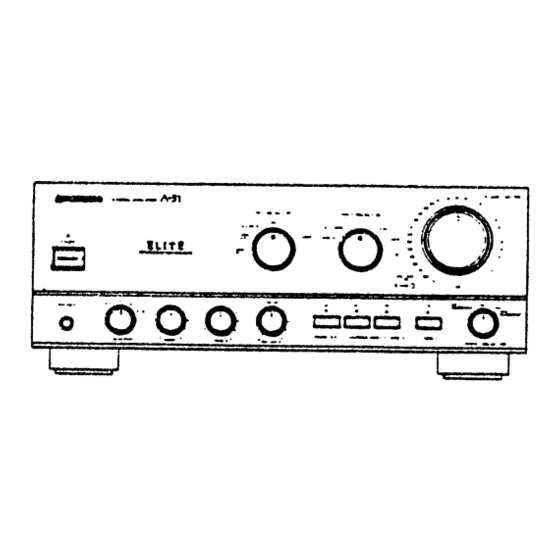
Pioneer A-777 Operating Instructions Manual - Page 24
Browse online or download pdf Operating Instructions Manual for Amplifier Pioneer A-777. Pioneer A-777 32 pages. Stereo
Also for Pioneer A-777: Operating Instructions Manual (16 pages), Service Manual (25 pages)

TROUBLESHOOTING
to carry out repair work.
No power supplied to unit.
No sound from one speaker.
Cannot record tapes.
Cannot perform tape copying.
24
<ARE1
194>
En
* Power plug is disconnected from outlet.
e The component power plug has been plugged
into another component power outlet (e.g. timer,
etc.) but power to that unit is disconnected.
© Connecting cords are disconnected from jacks,
or connected incorrectly.
¢ Jacks, or connecting cords pin plugs are dirty.
¢ The INPUT SELECTOR switch or ADPT 1/
TAPE 3 button selected does not match the
component being played back.
© Operation of other components ts incorrect.
¢ The SPEAKERS selector switch is set to ''OFF ''
¢ The PHONO EQ button ts '"'OFF"' position
(When listening to PHONO tn A-777).
© Shorting bars are not inserted into the ADPT. 2
Jacks (A-777 only).
¢ Volume control set to ''00'' position.
¢ Muting button ts on (indicator lit). (A-777 only)
® Connecting cords or speaker cords are
disconnected on that side.
¢ BALANCE control has been adjusted to one side.
© The position of REC SELECTOR switch ts
incorrect.
© Connections are incorrect.
© Operation of cassette deck Is incorrect.
© The position of REC SELECTOR switch ts
incorrect.
© Operation of cassette decks ts incorrect.
¢ Insert plug securely into outlet.
e Turn on power to the other component.
© Connect securely.
® Clean jacks and plugs.
e Set switches correctly (PHONO, TUNER, CD,
LINE, DAT/TAPE
1, TAPE 2). Set the ADPT 1/
TAPE 3 to OFF
© Consult the operating instructions for the other
components.
¢ Set the switch to "A," 'BY' or "A + B."
e Set PHONO EQ button to ''ON" position.
¢ Insert the shorting bars properly.
® Increase volume level from ''00'' position.
¢ Turn off the muting button (indicator off).
© Connect securely.
¢ Adjust BALANCE control to center position.
¢ Set switch correctly
(See section ''RECORDING TAPES').
e Reconnect properly.
¢ Consult the operating instructions for the
cassette deck.
e Set switch correctly
(See section 'COPYING TAPES").
© Consult the operating instructions for the
cassette decks.
