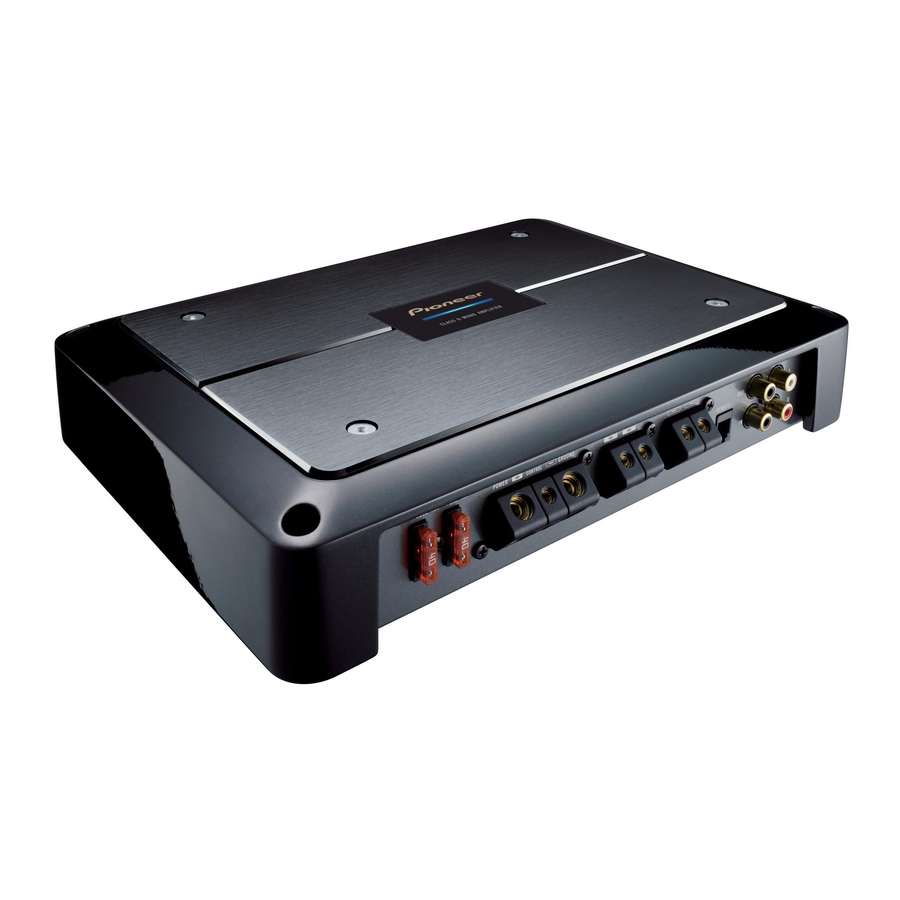
Pioneer PREMIER PRS-D1200M Owner's Manual - Page 11
Browse online or download pdf Owner's Manual for Amplifier Pioneer PREMIER PRS-D1200M. Pioneer PREMIER PRS-D1200M 50 pages. Class d mono amplifier
Also for Pioneer PREMIER PRS-D1200M: Owner's Manual (20 pages)

Connecting the Speaker Wires
Connect the speaker leads and set MODE SELECT switch and POWER MODE switch to suit the configura-
tion according to the figures shown below and the next page.
• When synchronously connecting two or more amplifiers in combination, only use these amplifiers. Do not
mix these amplifiers with other amplifiers.
• When synchronously connecting two or more amplifiers in combination, set the gain control, subsonic
select switch, cut off frequency control for LPF and bass boost control on the amplifier that has been set to
MASTER with the MODE SELECT switch. These settings are inactive when set on an amplifier set to
SYNC or SYNC INV.
CAUTION
Diagram A - Proper
4 Ω
Speaker
2 Ω Bridged Mode
Do NOT install or use this amplifier by wiring speakers rated at 2 Ω (or lower) in parallel to achieve a 1 Ω (or
lower) bridged mode (Diagram B).
Amplifier damage, smoke, and overheating could result from improper bridging. The amplifier surface could
also become hot to the touch and minor burns could result.
To properly install or use a bridged mode and achieve a 2 Ω load, wire two 4 Ω speakers in parallel with Left
+ and Right – (Diagram A) or use a single 2 Ω speaker.
If the synthetic impedance is from 2 Ω to less than 4 Ω, always make sure to set the POWER MODE switch to
the HI-CURRENT position.
In addition, refer to the speaker instruction manual for information on the correct connection procedure.
Single Amplifier
1 Ω to 8 Ω
• Use speakers having an impedance from 1 Ω to 8 Ω.
• The setting of the POWER MODE switch varies according to the speaker impedance. See the "Setting the
Unit" section for details.
Diagram B - Improper
4 Ω
2 Ω
Speaker
Speaker
1 Ω Bridged Mode
MODE SELECT switch must
be in MASTER position.
2 Ω
Speaker
Connect to a car stereo.
For details, see the "Connection Diagram".
10
