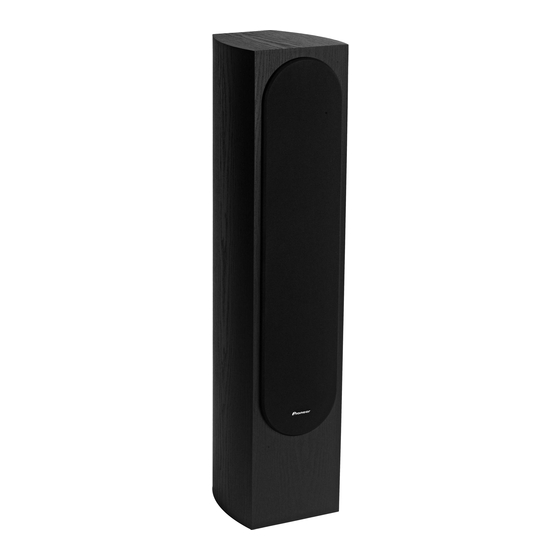
Pioneer SP-FS52 Operating Manual - Page 2
Browse online or download pdf Operating Manual for Speaker System Pioneer SP-FS52. Pioneer SP-FS52 17 pages. Andrew jones designed 5.1-channel speaker package
Also for Pioneer SP-FS52: Specfications (2 pages)

ENGLISH
www.pioneerelectronics.com
CONNECTING YOUR SYSTEM
IMPORTANT: Make sure all equipment is turned off before making any connections.
Correct wiring of your loudspeakers is essential for achieving the best sound quality. Be careful to ensure
proper polarity of connection. We recommend a minimum of 18 gauge for runs up to 25 feet, and thicker for
longer runs.
Most loudspeaker cable is coded to ease this task. Typically the ribbed or striped side is connected to the
positive (red) terminal. Make sure that the amplifier positive (red) terminal is connected to the loudspeaker
positive (red) terminal. Strip off ½" of insulation from the ends of the cable, twist the bare strands and insert
into the binding posts. Take care that no stray strands of wire short across between the terminals.
1: Strip the cover and twist the strands
Supporting Hooks
(Not Included)
Sufficiently
thick cord
(Not Included)
Safety catch
2
Negative
Wire going to negative
terminal of receiver
2: Connect each speaker cable (not included) to one set of the receiver's
speaker output terminals and the speaker input terminals. The red terminal
is the positive (+), and the black terminal is the negative (–). Make sure that
the receiver positive (red) terminal is connected to the speaker positive
Négative
(red) terminal.
INSTALLING AND REMOVING THE GRILL
Fil allant vers la borne
The front panel grill may be removed if desired. To remove, hold
négative du récepteur
the lower edge of the grill near the mounting points with both
hands and pull forward gently, away from the speaker. Repeat as
you work your way up the grill. To replace the grill on the speaker,
align the pegs on the grill with the holes in the speaker and
press in slowly.
Negativo
INSTALLING THE BASE TO THE SP-FS52
FLOORSTANDING SPEAKERS
Alambre que va al terminal
Included in the SP-FS52 carton are (1) base and (4) screws.
negativo del receptor
Attach the base to the bottom of the speaker using (4) screws,
as illustrated. (Screwdriver is not included.)
SECURING THE SP-FS52
FLOORSTANDING SPEAKERS
The SP-FS52 speaker comes with a safety catch pre-installed on the
back of the cabinet for securing to a wall to avoid tipping. Screw a
supporting hook (not included) into the wall behind the speaker. Pass
a thick cord (not included) around the supporting hook and through
the safety catch so that the speaker is stabilized (make sure to test
that it supports the weight of the speaker). After installing, make sure
the speaker is securely fixed.
CAUTION: The safety catch is not a mounting fixture and the speaker
should not be hung directly from the wall using this catch. Always use
a cord when stabilizing the speaker. Pioneer disclaims all responsibility
for any losses or damage resulting from improper assembly, installation,
insufficient strength of the installation materials, misuse, or natural
disasters. When placing this unit, ensure that it is firmly secured and
avoid areas where it may be likely to fall and cause injury in the event
of a natural disaster (such as an earthquake). Do not stand on the
speaker stand base to push or swing the speaker. The speaker may
fall and break, or someone may be injured. Play close attention to
children around the speaker.
Positive
Wire going to positive
terminal of receiver
Positive
Fil allant vers la borne
positive du récepteur
Positivo
Alambre que va al terminal
positivo del receptor
