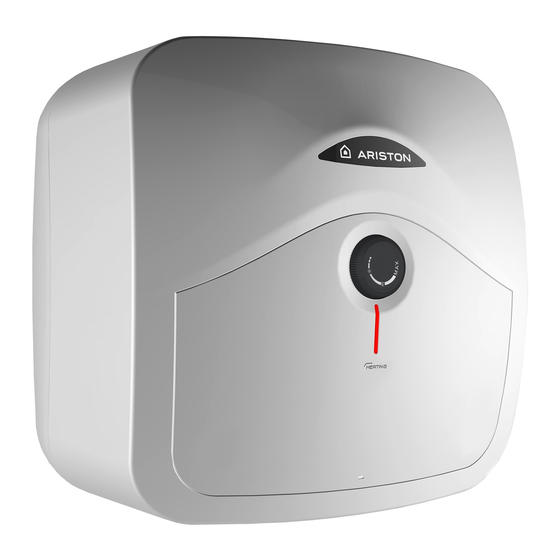
Ariston ANDRIS2 B 30 O Instructions For Installation, Use, Maintenance - Page 12
Browse online or download pdf Instructions For Installation, Use, Maintenance for Water Heater Ariston ANDRIS2 B 30 O. Ariston ANDRIS2 B 30 O 36 pages.

EN
Hydraulic connection
Connect the water heater's inlet and outlet with pipes or fittings that are able to withstand temperature in excees
of 90°C at a pressure exceeding that of the working pressure. Therefore, we advise against the use of any ma-
terials which cannot resist such high temperatures.
The appliance must not be supplied with water of hardness less than 12°F, nor with especially hard water
(greater than 25°F); we recommend installing a water softener, properly calibrated and controlled - do not allow
the residual hardness to fall below 15°F.
Screw a "T" piece union to the water inlet pipe with the blue collar. On one side of the "T" piece union, screw a
tap for draining the appliance that can only be opened with the use of a tool (B Fig. 1). On the other side of the
"T" piece union screw the safety valve supplied (A Fig. 1).
Safety group complies with the European standard EN 1487
Some countries may require the use of hydraulic special safety devices; the installer must check the suitability
of the safety device he tends to use.
Do not install any shut-off device (valve, cock, etc.) between the safety unit and the heater itself.
The appliance's drain outlet must be connected to a drain pipe of diameter at least equal to the of the outlet
itself, with a funnel to permit an air gap of at least 20 mm for visual inspection. Use a hose to connect the safety
group to the mains cold water supply; fit a cock if necessary (D fig. 1). In addition, a water discharge tube on
the outlet C Fig. 1 is necessary if the emptying tap is opened.
When installing the safety device, do not tighten it fully down, and do not tamper with its settings.
It is necessary to connect the drain, which must always be left exposed to the atmosphere, with a drainage
pipe that is installed sloping downwards in a place with no ice. If the network pressure is closed to the cali-
brated valve pressure, it will be necessary to apply a pressure reducer far away from the appliance. To avoid
any possible damage to the mixer units (taps or shower) it is necessary to drain any impurities from the pipes.
"Gravity drain" connection
Specific taps must be used for this type of installation and the connection must be implemented as shown in the
diagram in Fig. 2. With this solution, the water heater can work at any mains pressure and no type of tap must be
connected on the outlet pipe, which acts as a vent.
Electrical connection
It is mandatory, before installing the appliance, to perform an accurate control of the electrical system by ver-
ifying compliance with current safety standards, which is adequate for the maximum power absorbed by the
water heater (refer to the data plate) and that the section of the cables for the electrical connection is suitable
and complies with local regulations. The manufacturer is not liable for damage caused by lack of grounding
or anomalous power supply. Before starting up the appliance, check that the power rating matches that given
on the nameplate.
The use of multiplugs, extensions or adaptors is strictly prohibited.
It is strictly forbidden to use the piping from the plumbing, heating and gas systems for the appliance earthing
connection. If the appliance is supplied with a power supply cable, should the latter need replacing, use a
cable featuring the same characteristics (type H05VV-F 3x1 mm
H05VV-F 3x1 mm
dim. 8.5 mm) must be routed into the hole (F Fig. 3) in the back of the appliance and con-
2
nected to the thermostat terminals (M Fig. 6)
Use a two-pole switch conforming with national laws in force (contact gap of at least 3 mm, preferably equipped
with fuses) to disconnect the appliance's power supply.
The appliance must be grounded with a cable (yellow/green and longer than the phase cable) connected to
the terminals marked
Before starting up the appliance, check that the power rating matches that given on the nameplate. If the appli-
ance is not supplied with a power supply cable, choose one of the following installation modes:
- connection to mains with a rigid pipe (if the appliance has no cable clamp); use a cable with a minimum 3x1
mm
section;
2
- with a flexible cable (type H05VV-F 3x1 mm
clamp.
Testing and ignition of the device
Before powering up the appliance, fill the heater with mains water.
To do so, open the mains cock and the hot water tap until all the air has been vented from the boiler. Check for
leaks from the flanges, tighten down the fittings (not too much!) if necessary.
Turn on the appliance with the switch.
12
(T Fig. 6).
, 8.5 mm in diameter) if the appliance is supplied with a cable
2
, 8.5 mm in diameter. The power cord (type
2
