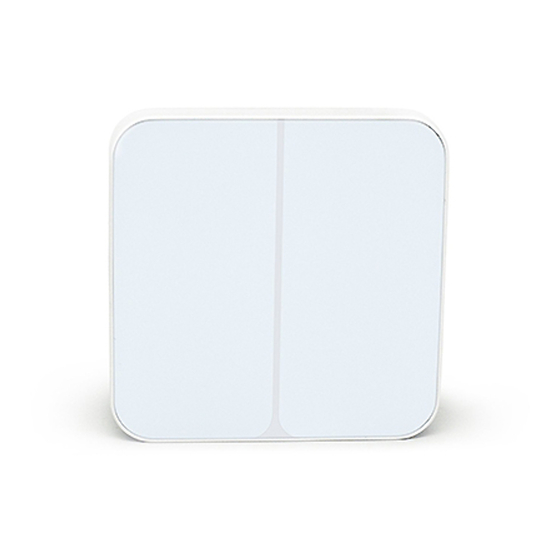
Aeotec WallMote User Manual - Page 3
Browse online or download pdf User Manual for Switch Aeotec WallMote. Aeotec WallMote 8 pages.
Also for Aeotec WallMote: Quick Start (3 pages), User Manual (9 pages)

4.10.2017
Quick start.
Installing your WallMote Quad.
1. Selecting a place or wall in your home to affix your WallMote Quad's Back Mount plate.
2. Using the Double-sided tap, wipe the two surfaces clean of any oil or dust with a damp towel. When the surface has
completely dried, peel one side of the tape back and attach it to the corresponding section on the rear side of the Back
Mounting Plate.
Adding your WallMote Quad to your Z-Wave network.
With your mounting plates prepared to hold each component of your WallMote Quad, it's time to add it to your Z-Wave
network.
1. Let your Z-Wave primary controller/gateway enter into pairing/
2. inclusion mode.
3. Take your WallMote Quad near to your primary controller. Press the Action Button once on your WallMote Quad, the
LED will blink with green color.
4. If your WallMote Quad has been successfully added to your Z-Wave network, its green LED will be solid for 2
seconds and then off. If the adding was unsuccessful and the red LED will be solid for 2 seconds and then off, repeat
the above steps.
With your WallMote Quad now working as a part of your smart home, you'll be able to configure it from your home
control software or phone application. Please refer to your software's user guide for precise instructions on configuring
the WallMote Quad to your needs.
Attach your WallMote Quad to its Back Mounting plate.
With your WallMote Quad added to the Z-Wave network. It's now time to insert the main unit into the corresponding
Back Mount plate. Put the main unit in the top-left direction on the Back Mounting, and then push the WallMote Quad
into the Back Mounting Plate, the WallMote Quad will be attracted by the magnets on the Back Mount plate, as the
figure below shows.
https://aeotec.freshdesk.com/support/solutions/articles/6000162392-wallmote-quad-user-guide-
WallMote Quad user guide. : Aeotec by Aeon Labs
3/8
